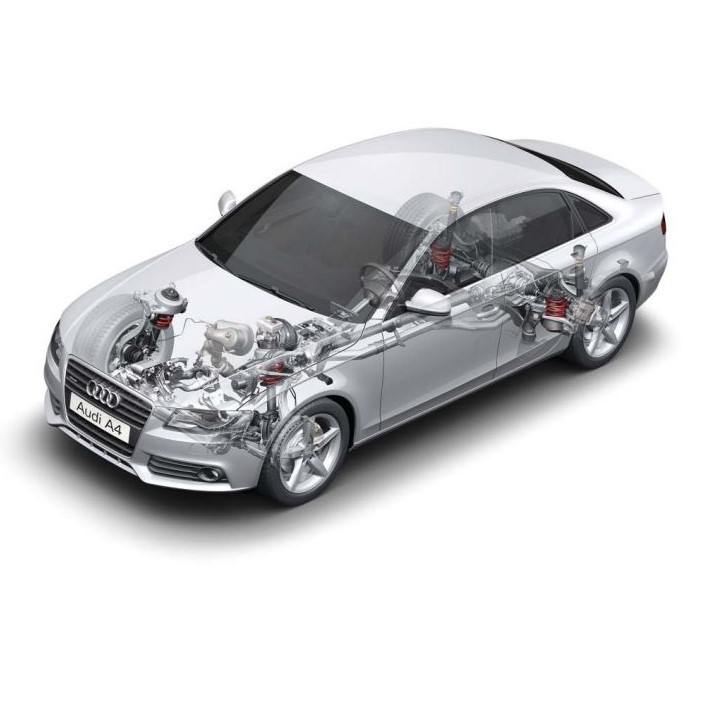
The Audi A3 (8V) Exterior General Body Repairs Workshop Manual is your go-to guide for maintaining and repairing the exterior of your Audi A3 8V series. This comprehensive manual provides detailed instructions for a wide range of body repair tasks, from minor cosmetic fixes to major structural repairs. Ideal for professional body shops, DIY enthusiasts, and Audi owners, this manual ensures that your vehicle’s exterior remains in pristine condition.
Key Features:
- Detailed Repair Instructions: Step-by-step guidance for performing a variety of exterior body repairs, including dent removal, panel replacement, and paint touch-ups.
- Comprehensive Coverage: Covers all aspects of exterior body repair for the Audi A3 (8V), ensuring no detail is overlooked.
- High-Quality Diagrams: Clear and precise diagrams help you visualize each step of the repair process.
- OEM Standards: Ensure repairs meet Audi’s original specifications for quality and safety.
- User-Friendly Format: Organized layout for easy navigation, making it simple to find the information you need.
Format: PDF
Pages: 434
Delivery: The download link will be promptly delivered to your email upon completing the checkout process.
Covered Audi Vehicles:
- Audi A3 2013 ➤
- Audi A3 Limousine 2014 ➤
- Audi A3 Limousine China 2014 ➤
- Audi A3 Sportback 2013 ➤
- Audi A3 Sportback China 2014 ➤
List of Workshop Manual Repair Groups:
- Technical data
- Body – front
- Bonnet, rear lid
- Front doors, door components, central locking
- Rear doors, door components
- Sunroof
- Bumpers
- Glazing
- Exterior equipment
Contents:
- 00 – Technical data
- 1 Safety precautions
- Safety precautions when working on the high-voltage system
- Safety precautions when working in the vicinity of high-voltage components
- Safety precautions when working on vehicles with natural gas systems
- Safety precautions when working on vehicles with start/stop system
- Safety precautions when using testers and measuring instruments during a road test
- Safety precautions when working on the cooling system
- Repair notes
- Routing and attaching lines and wiring
- Contact corrosion
- Bonding surfaces for adhesive strips
- Self-locking bolts
- Identification plates
- 50 – Body – front
- 1 Lock carrier
- Exploded view – lock carrier
- Removing and installing lock carrier
- Removing and installing cover for arrester
- Removing and installing air duct for radiator
- Removing and installing air duct – vehicles with manual gearbox
- Wing
- Exploded view – wing
- Exploded view – brackets on wing (right-side)
- Exploded view – repair set for wing
- Removing and installing wing
- Removing and installing wing panel brace
- Removing and installing closure plate
- Bulkhead
- Exploded view – plenum chamber partition panel
- Exploded view – plenum chamber cover
- Removing and installing plenum chamber cover
- Removing and installing plenum chamber partition panel
- Removing and installing sealing element
- 55 – Bonnet, rear lid
- 1 Bonnet
- Exploded view – bonnet
- Exploded view – Bowden cable
- Removing and installing bonnet
- Adjusting bonnet
- Removing and installing hinges
- Resetting hinge
- Removing and installing striker
- Removing and installing gas strut
- Releasing gas from gas strut
- Removing and installing insulation
- Removing and installing impact guard
- Removing and installing Bowden cable
- Removing and installing arrester
- Removing and installing bonnet lock
- Removing and installing operating lever for bonnet lock
- Rear lid
- Exploded view – rear lid
- Removing and installing rear lid
- Adjusting rear lid
- Removing and installing hinges
- Removing and installing rear lid seal
- Removing and installing stop and adjusting buffer
- Removing and installing gas strut
- Releasing gas from gas strut
- Removing and installing extension spring
- Removing and installing rear lid lock
- Removing and installing actuator
- Tank flap unit
- Exploded view – tank flap unit
- Removing and installing tank flap unit
- Removing and installing trim panel for tank flap
- Removing and installing drain hose for tank flap unit
- Removing and installing manual release cable
- 57 – Front doors, door components, central locking
- 1 Door
- Exploded view – door
- Exploded view – door seals
- Removing and installing door
- Adjusting door
- Removing and installing door arrester
- Removing and installing inner door seal
- Removing and installing outer door seal
- Door components
- Exploded view – window regulator
- Exploded view – door handle and door lock
- Exploded view – window guides and window slot trim strips
- Removing and installing window regulator
- Removing and installing window regulator motor
- Removing and installing door handle
- Removing and installing door handle trim
- Removing and installing mounting bracket
- Removing and installing operating cable for exterior door handle
- Removing and installing lock cylinder
- Removing and installing cap for lock cylinder
- Removing and installing housing
- Removing and installing door lock
- Removing and installing cover for door lock
- Removing and installing striker
- Removing and installing operating cable for interior door handle
- Removing and installing inner door cover
- Removing and installing window guide
- Removing and installing inner window slot trim strip
- Removing and installing outer window slot trim strip
- Central locking system
- Overview of fitting locations – central locking system
- Removing and installing driver door control unit J386 and front passenger door control unit J387
- Removing and installing rear driver side door control unit J926 and rear passenger side door control unit J927
- Removing and installing control unit with rear driver side window regulator motor J1016 and control unit with rear passenger side window regulator motor J1017
- Removing and installing interface control unit for vehicle location system J843
- Removing and installing bonnet contact switch F266
- Removing and installing tank filler flap locking motor V155
- 58 – Rear doors, door components
- 1 Door
- Exploded view – door
- Exploded view – door seals
- Removing and installing door
- Adjusting door
- Removing and installing door arrester
- Removing and installing inner door seal
- Removing and installing outer door seal
- Door components
- Exploded view – window regulator
- Exploded view – door handle and door lock
- Exploded view – window guides and window slot trim strips
- Removing and installing window regulator
- Removing and installing window regulator motor
- Removing and installing door handle
- Removing and installing door handle trim
- Removing and installing housing
- Removing and installing the mounting bracket
- Removing and installing operating cable for the exterior door handle
- Removing and installing door lock
- Removing and installing striker
- Removing and installing operating cable for the interior door handle
- Removing and installing the inner door cover
- Removing and installing window guide
- Removing and installing guide rail for door window
- Removing and installing inner window slot trim strip
- Removing and installing outer window slot trim strip
- 60 – Sunroof
- 1 Sliding sunroof
- Exploded view – sliding sunroof
- Exploded view – sunroof sunblind
- Removing and installing the sunroof frame
- Removing and installing glass panel
- Adjusting glass panel
- Removing and installing slotted guide
- Removing and installing sliding sunroof adjustment control unit J245
- Adapting sliding sunroof adjustment control unit J245
- Removing and installing front trim panel for sliding sunroof
- Removing and installing sunroof seals
- Removing and installing sunroof sunblind
- Removing and installing wind deflector
- Water drain hoses
- Overview – water drain hoses
- Cleaning water drain hoses
- Removing and installing water drain hoses
- 63 – Bumpers
- 1 Bumper (front)
- Exploded view – bumper cover
- Exploded view – impact bar
- Removing and installing bumper cover
- Adjusting bumper cover
- Removing and installing bumper cover mounting
- Removing and installing impact bar
- Removing and installing attachments
- Bumper (rear)
- Exploded view – bumper cover
- Exploded view – impact bar
- Removing and installing bumper cover
- Removing and installing impact bar
- Removing and installing attachments
- 64 – Glazing
- 1 Repair notes
- Minimum drying times for bonded windows
- Repairing windows
- Notes on installing flush-bonded windows
- Preparing undamaged windows for installation
- Preparing new windows for installation
- Preparing body flange for installation
- Cleaning off adhesive sealant
- Windscreen
- Exploded view – windscreen
- Removing and installing windscreen
- Side windows
- Exploded view – rear side window
- Removing and installing rear side window
- Rear window
- Exploded view – rear window
- Removing and installing the rear window
- Door windows
- Exploded view – front door window
- Exploded view – rear door window
- Removing and installing the front door window
- Removing and installing rear door window
- 66 – Exterior equipment
- 1 Radiator grille/front trim panel
- Exploded view – radiator grille
- Removing and installing radiator grille
- Spoiler
- Exploded view – spoiler
- Removing and installing spoiler
- Strips / trim panels/extensions
- Exploded view – trim strip and covers
- Exploded view – trim panels for A-pillar and B-pillar
- Exploded view – trim panel for B/C-pillar
- Exploded view – sill panel trim
- Exploded view – side member trim
- Exploded view – heat shield
- Removing and installing water deflector strip
- Removing and installing trim strip
- Removing and installing cover
- Removing and installing trim panel for A-pillar
- Removing and installing trim panel for B-pillar on door
- Removing and installing trim panel for C-pillar on door
- Removing and installing sill panel trim
- Removing and installing side member trim
- Removing and installing heat shield for floor
- Noise insulation
- Exploded view – noise insulation
- Removing and installing noise insulation
- Underbody trim
- Exploded view – underbody trim
- Removing and installing underbody trim
- Removing and installing tunnel cross-piece
- Roof strips/roof rails
- Exploded view – roof rail
- Exploded view – roof trim strip
- Removing and installing roof rail
- Removing and installing roof trim strip
- Exterior mirrors
- Exploded view – exterior mirror
- Removing and installing mirror glass
- Removing and installing mirror adjustment unit
- Removing and installing mirror trim
- Removing and installing cover for mirror
- Removing and installing exterior mirror
- Wheel housing liners
- Exploded view – wheel housing liner (front)
- Exploded view – wheel housing liner (rear)
- Removing and installing wheel housing liner (front)
- Removing and installing wheel housing liner (rear)
- Model badges and brand emblems
- Exploded view – model badges and brand emblems
- Dimensions – model badges and brand emblems on rear
- Renewing model badges and brand emblems on side
- General notes on renewing model badges and brand emblems
- Removing and installing model badges and emblems for radiator grille
- Towing bracket
- Exploded view – towing bracket
- Removing and installing trailer detector control unit J345


Reviews
Clear filtersThere are no reviews yet.