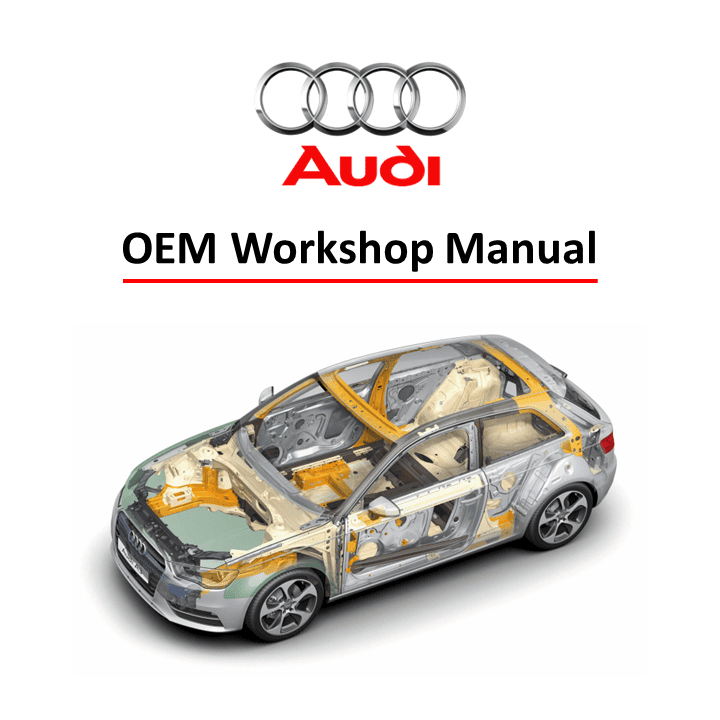
Comprehensive workshop manual for Audi A3 (8V) covering technical data, engine maintenance, and safety precautions. Perfect for mechanics and car enthusiasts.
Format: PDF
Pages: 241
Delivery: The download link will be promptly delivered to your email upon completing the checkout process.
Covered Audi Engines: CJSA, CJSB, CJXB, CJXC, CNSB, CNTC, CHHB, CJXF, CYFB, CJXD, CJXG, DJHA, DJHB, DJJA, DHHA, DLRA, DNUE
- Audi A3 2013 ➤
- Audi A3 Limousine China 2014 ➤
- Audi A3 Sportback China 2014 ➤
Covered Engine IDs: CZPB, CZRA, DBFB, DKZA, DKVA.
List of Workshop Manual Repair Groups:
- Technical data
- Removing and installing engine
- Crankshaft group
- Cylinder head, valve gear
- Lubrication
- Cooling
- Turbocharging/supercharging
- Mixture preparation – injection
- Exhaust system
- Ignition system
Contents:
- Technical data
- Identification
- Safety precautions
- Repair instructions
- Removing and installing engine
- Removing and installing engine
- Removing engine
- Separating engine and gearbox
- Securing engine to engine and gearbox support
- Installing engine
- Assembly mountings
- Exploded view – assembly mountings
- Supporting engine in installation position
- Removing and installing engine mountings
- Removing and installing gearbox mounting
- Removing and installing pendulum support
- Adjusting assembly mountings
- Checking adjustment of assembly mountings (engine/gearbox mountings)
- Engine cover panel
- Crankshaft group
- Cylinder block (pulley end)
- Exploded view – cylinder block (pulley end)
- Removing and installing poly V-belt
- Removing and installing poly V-belt tensioner
- Removing and installing vibration damper
- Removing and installing bracket for ancillaries
- Removing and installing engine support
- Cylinder block (gearbox end)
- Crankshaft
- Balance shaft
- Pistons and conrods
- Cylinder head, valve gear
- Timing chain cover
- Exploded view – timing chain cover
- Removing and installing timing chain cover
- Renewing oil seal for vibration damper
- Chain drive
- Exploded view – camshaft timing chains
- Exploded view – drive chain for balance shaft
- Removing and installing bearing saddle
- Removing and installing camshaft timing chain
- Removing and installing drive chain for balance shaft
- Checking timing chain
- Checking valve timing
- Cylinder head
- Exploded view – cylinder head
- Removing and installing cylinder head
- Checking compression
- Valve gear
- Exploded view – valve gear
- Removing and installing camshaft
- Installing ball for slider
- Removing and installing actuators for camshaft adjustment
- Removing and installing camshaft control valve 1 N205
- Removing and installing valve stem oil seals
- Inlet and exhaust valves
- Lubrication
- Sump/oil pump
- Exploded view – sump/oil pump
- Engine oil
- Removing and installing sump (bottom section)
- Removing and installing oil pump
- Removing and installing sump (top section)
- Removing and installing oil level and oil temperature sender G266
- Engine oil cooler
- Crankcase breather
- Oil filter/oil pressure switches
- Exploded view – oil filter
- Exploded view – oil pressure switches/oil pressure control
- Removing and installing oil pressure switch F22
- Removing and installing oil pressure switch for reduced oil pressure F378
- Removing and installing stage 3 oil pressure switch F447
- Removing and installing valve for oil pressure control N428
- Removing and installing piston cooling jet control valve N522
- Checking oil pressure
- Cooling
- Cooling system/coolant
- Connection diagram – coolant hoses
- Checking cooling system for leaks
- Draining and filling cooling system
- Coolant expansion tank
- Exploded view – coolant expansion tank
- Removing and installing coolant expansion tank
- Coolant pump/thermostat assembly
- Exploded view – coolant pump/thermostat
- Exploded view – electric coolant pump
- Exploded view – coolant valves
- Exploded view – coolant temperature senders
- Removing and installing electric coolant pump
- Removing and installing coolant pump
- Removing and installing toothed belt for coolant pump
- Removing and installing actuator for engine temperature regulation N493
- Removing and installing thermostat housing
- Removing and installing coolant temperature sender G62
- Removing and installing radiator outlet coolant temperature sender G83
- Removing and installing coolant valves
- Coolant pipes
- Exploded view – coolant pipes
- Removing and installing coolant pipes
- Radiator/radiator fans
- Exploded view – radiator/radiator fans
- Exploded view – auxiliary radiator
- Removing and installing radiator
- Removing and installing radiator cowl
- Removing and installing radiator fan V7
- Removing and installing auxiliary radiator
- Turbocharging/supercharging
- Turbocharger
- Exploded view – turbocharger
- Removing and installing turbocharger
- Removing and installing charge pressure positioner V465
- Adjusting charge pressure positioner V465
- Charge air system
- Exploded view – charge air system
- Exploded view – hose connections for charge air system
- Removing and installing charge air cooler
- Removing and installing charge pressure sender G31
- Checking charge air system for leaks
- Mixture preparation – injection
- Injection system
- Overview of fitting locations – injection system
- Air cleaner
- Exploded view – air cleaner housing
- Removing and installing air cleaner housing
- Intake manifold
- Exploded view – intake manifold
- Removing and installing intake manifold
- Removing and installing throttle valve module J338
- Cleaning throttle valve module
- Checking intake manifold change-over function
- Injectors
- Exploded view – fuel rail with injectors
- Removing and installing fuel rail
- Removing and installing injectors
- Cleaning injectors
- Senders and sensors
- Exploded view – actuator for structure-borne sound and control unit for structure-borne sound
- Removing and installing control unit for structure-borne sound J869 and actuator for
- structure-borne sound R214
- Removing and installing intake air temperature sender G42 / intake manifold pressure sender G71
- Removing and installing fuel pressure sender G247
- Checking fuel pressure sender G247
- Removing and installing fuel pressure sender for low pressure G410
- Removing and installing exhaust gas pressure sensor 1 G450
- High-pressure pump
- Exploded view – high-pressure pump
- Removing and installing high-pressure pump
- Lambda probe
- Exploded view – Lambda probe
- Removing and installing Lambda probe
- Engine control unit
- Removing and installing engine/motor control unit J623
- Exhaust system
- Exhaust pipes/silencers
- Exploded view – silencers
- Separating exhaust pipes/silencers
- Removing and installing silencers
- Stress-free alignment of exhaust system
- Checking exhaust system for leaks
- Emission control system
- Exploded view – emission control system
- Removing and installing catalytic converter
- Removing and installing exhaust flap control unit J883
- Exhaust gas temperature control
- Secondary air system
- Ignition system
- Ignition system





 Abrites AVDI J2534
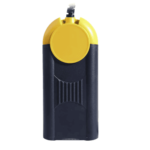 Actia Multi-Diag
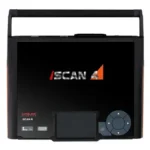 Autoland iSCAN
 Bobcat Diagnostic Kit
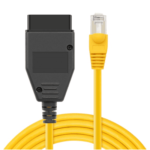 BMW ENET
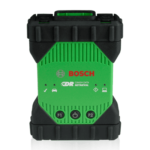 Bosch Mastertech II J2534
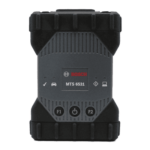 Bosch MTS 6531
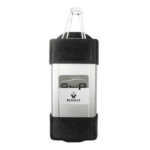 CAN CLIP RLT2002
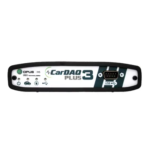 CarDAQ-Plus 3
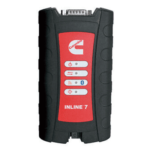 Cummins INLINE Datalink
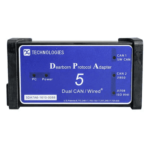 Dearborn Protocol Adapter (DPA) 5
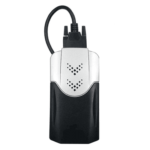 Delphi/Autocom DS150E
 DrewLinQ
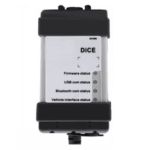 Volvo VIDA DiCE
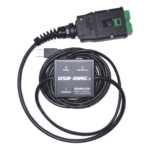 Derelek USB DIAG 3
 Electronic Data Link (EDL) 2
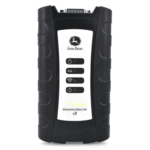 Electronic Data Link (EDL) 3
 GM MDI 1
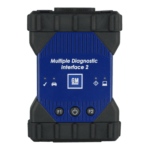 GM MDI 2
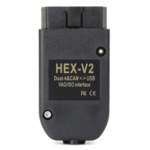 HEX-V2 VCDS VAG-COM
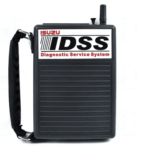 Isuzu IDSS IDS MX1
 Isuzu IDSS IDS MX2
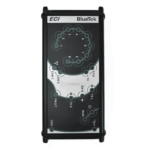 Iveco Eltrac E.A.SY. ECI
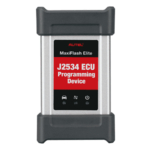 MaxiFlash Elite J2534
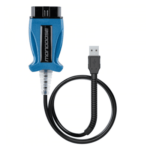 Mongoose J2534
 Nexiq USB-Link 1
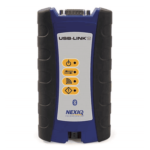 Nexiq USB-Link 2
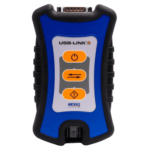 Nexiq USB-Link 3
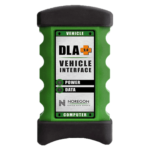 Noregon DLA+ 2.0
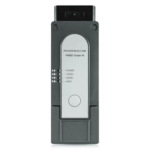 Porsche PIWIS TESTER 3 (PT3G)
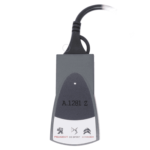 PSA LEXIA 3
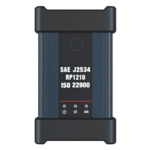 SAE J2434
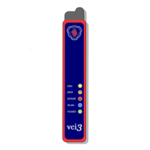 Scania VCI 3
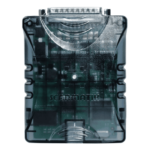 Scanmatik 2 PRO
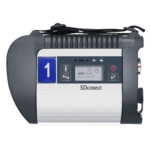 SD Connect Multiplexer
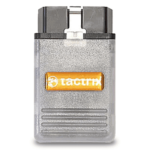 Tactrix OpenPort 2.0
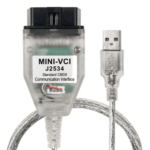 Toyota TIS Mini VCI
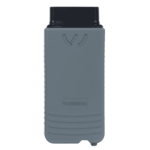 VAG ODIS VAS5054 Clone
 VAG ODIS VAS6154 Clone
 Volvo VOCOM 1
 Volvo VOCOM 2
 Yanmar Diagnostic Interface Box (IFBOX)





Reviews
Clear filtersThere are no reviews yet.