VW Polo (AW/BZ) Exterior General Body Repairs Workshop Manual with high-quality graphics and illustrations.
Format: PDF
Pages: 400
Delivery: The download link will instantly be sent to your email after checkout.
Covered VW Vehicles
- Polo (AW/BZ) series
Repair Group:
- Technical data
- Body – front
- Bonnet, rear lid
- Front doors, door components, central locking
- Rear doors, door components
- Sunroof
- Bumpers
- Glazing
- Exterior equipment
Contents:
- Technical data
- Safety information
- Safety measures when working on vehicles with a start/stop system
- Body – front
- Lock carrier
- Assembly overview – lock carrier
- Removing and installing lock carrier
- Moving to and back from service position
- Wings
- Assembly overview – wing
- Removing and installing wing
- Bulkhead
- Assembly overview – plenum chamber bulkhead
- Assembly overview – plenum chamber cover
- Removing and installing plenum chamber bulkhead
- Removing and installing plenum chamber cover
- Bonnet, rear lid
- Bonnet (hood)
- Assembly overview – bonnet
- Assembly overview – Bowden cable
- Removing and installing bonnet
- Adjusting bonnet
- Removing and installing bonnet lock
- Removing and installing bonnet release lever
- Removing and installing striker pin
- Removing and installing hinges
- Renewing hinges
- Removing and installing insulation
- Removing and installing support rod
- Removing and installing Bowden cable
- Rear lid
- Assembly overview – rear lid
- Removing and installing rear lid
- Adjusting rear lid
- Removing and installing bonnet lock
- Removing and installing operating mechanism
- Removing and installing hinges
- Removing and installing striker pin
- Removing and installing rear lid seal
- Removing and installing gas strut
- Releasing gas from gas strut
- Tank flap unit
- Assembly overview – tank flap unit
- Removing and installing tank flap unit
- Removing and installing fuel tank flap
- Front doors, door components, central locking
- Door
- Assembly overview – door
- Removing and installing inner door seal
- Removing and installing outer door seal
- Removing and installing door
- Adjusting door
- Adjusting striker pin
- Removing and installing door arrester
- Door components
- Assembly overview – door components
- Assembly overview – window regulator
- Assembly overview – door handle and door lock
- Removing and installing window regulator motor
- Removing and installing window regulator
- Removing and installing inner door cover
- Removing and installing striker pin
- Removing and installing cap on door handle
- Removing and installing lock cylinder
- Removing and installing door handle
- Removing and installing door handle bracket
- Removing and installing door lock
- Removing and installing window channel
- Removing and installing outer window slot seal
- Removing and installing inner window slot seal
- Central locking
- Overview of fitting locations – central locking
- Removing and installing ignition key battery
- Removing and installing cap on ignition key
- Removing and installing tank filler flap locking motor V155
- Rear doors, door components
- Door
- Assembly overview – door
- Removing and installing door
- Adjusting door
- Adjusting striker pin
- Removing and installing door arrester
- Removing and installing inner door seal
- Removing and installing outer door seal
- Door components
- Assembly overview – door components
- Assembly overview – window regulator
- Assembly overview – door handle and door lock
- Removing and installing window regulator motor
- Removing and installing window regulator
- Removing and installing window crank
- Removing and installing inner door cover
- Removing and installing striker pin
- Removing and installing cap on door handle
- Removing and installing door handle
- Removing and installing door handle bracket
- Removing and installing door lock
- Removing and installing window channel
- Removing and installing outer window slot seal
- Removing and installing inner window slot seal
- Sunroof
- Sliding sunroof
- Assembly overview – sliding sunroof
- Assembly overview – sunroof seals
- Assembly overview – sunroof roller blind
- Removing and installing glass panel
- Adjusting sunroof panel
- Removing and installing front trim for sliding sunroof
- Removing and installing wind deflector
- Removing and installing sunroof roller blind
- Removing and installing sliding sunroof frame
- Removing and installing J245 sliding sunroof adjustment control unit
- Removing and installing sunroof motor V1
- Operating without current
- Removing and installing guide plate
- Removing and installing sliding sunroof seals
- Programming sliding sunroof adjustment control unit J245
- Bumpers
- Bumper, front
- Assembly overview – bumper cover
- Assembly overview – impact bar
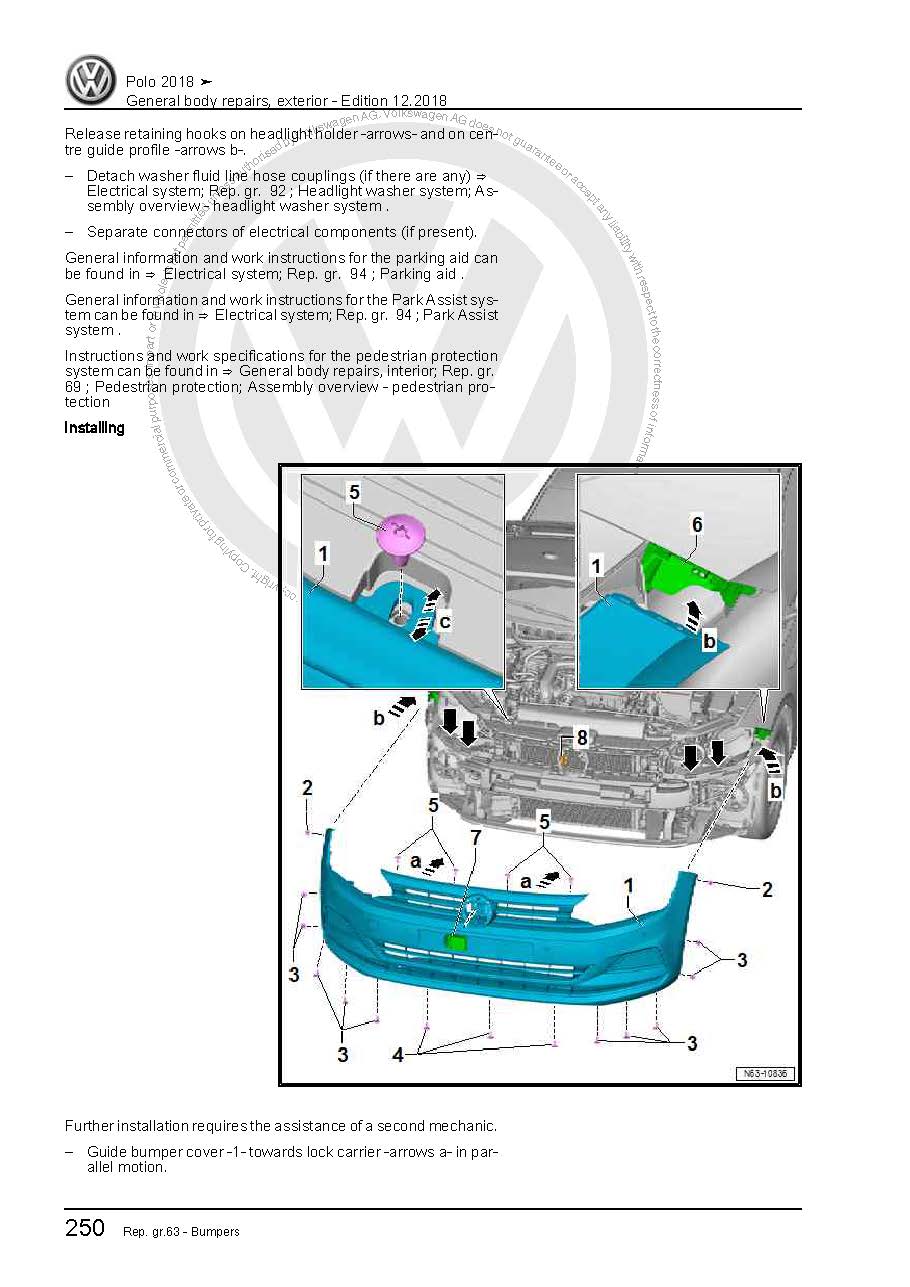
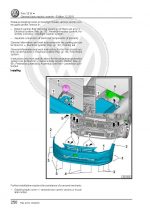
- Removing and installing bumper cover
- Repairing bumper cover
- Installing holder for parking aid sender
- Installing retainer for parking aid sender
- Bumper, rear
- Assembly overview – bumper cover
- Assembly overview – impact bar
- Removing and installing bumper cover
- Removing and installing impact bar
- Repairing bumper cover
- Installing holder for parking aid sender
- Installing retainer for parking aid sender
- Glazing
- Repair notes
- Minimum curing periods for bonded windows
- Window repair
- Installation instructions for bonded windows
- Preparing old undamaged windows for fitting
- Preparing new windows for installing
- Preparing body flange for fitting
- Cleaning off excess adhesive
- Windscreen
- Assembly overview – windscreen
- Removing and installing windscreen
- Rear windscreen
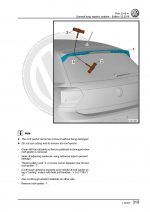
- Assembly overview – rear window
- Removing and installing rear window
- Side window
- Assembly overview – rear side windows
- Removing and installing rear side window
- Door windows
- Assembly overview – front door window
- Assembly overview – rear door window
- Removing and installing front door window
- Removing and installing rear door window
- Exterior equipment
- Radiator grille and front trim
- Assembly overview – radiator grille
- Removing and installing radiator grille
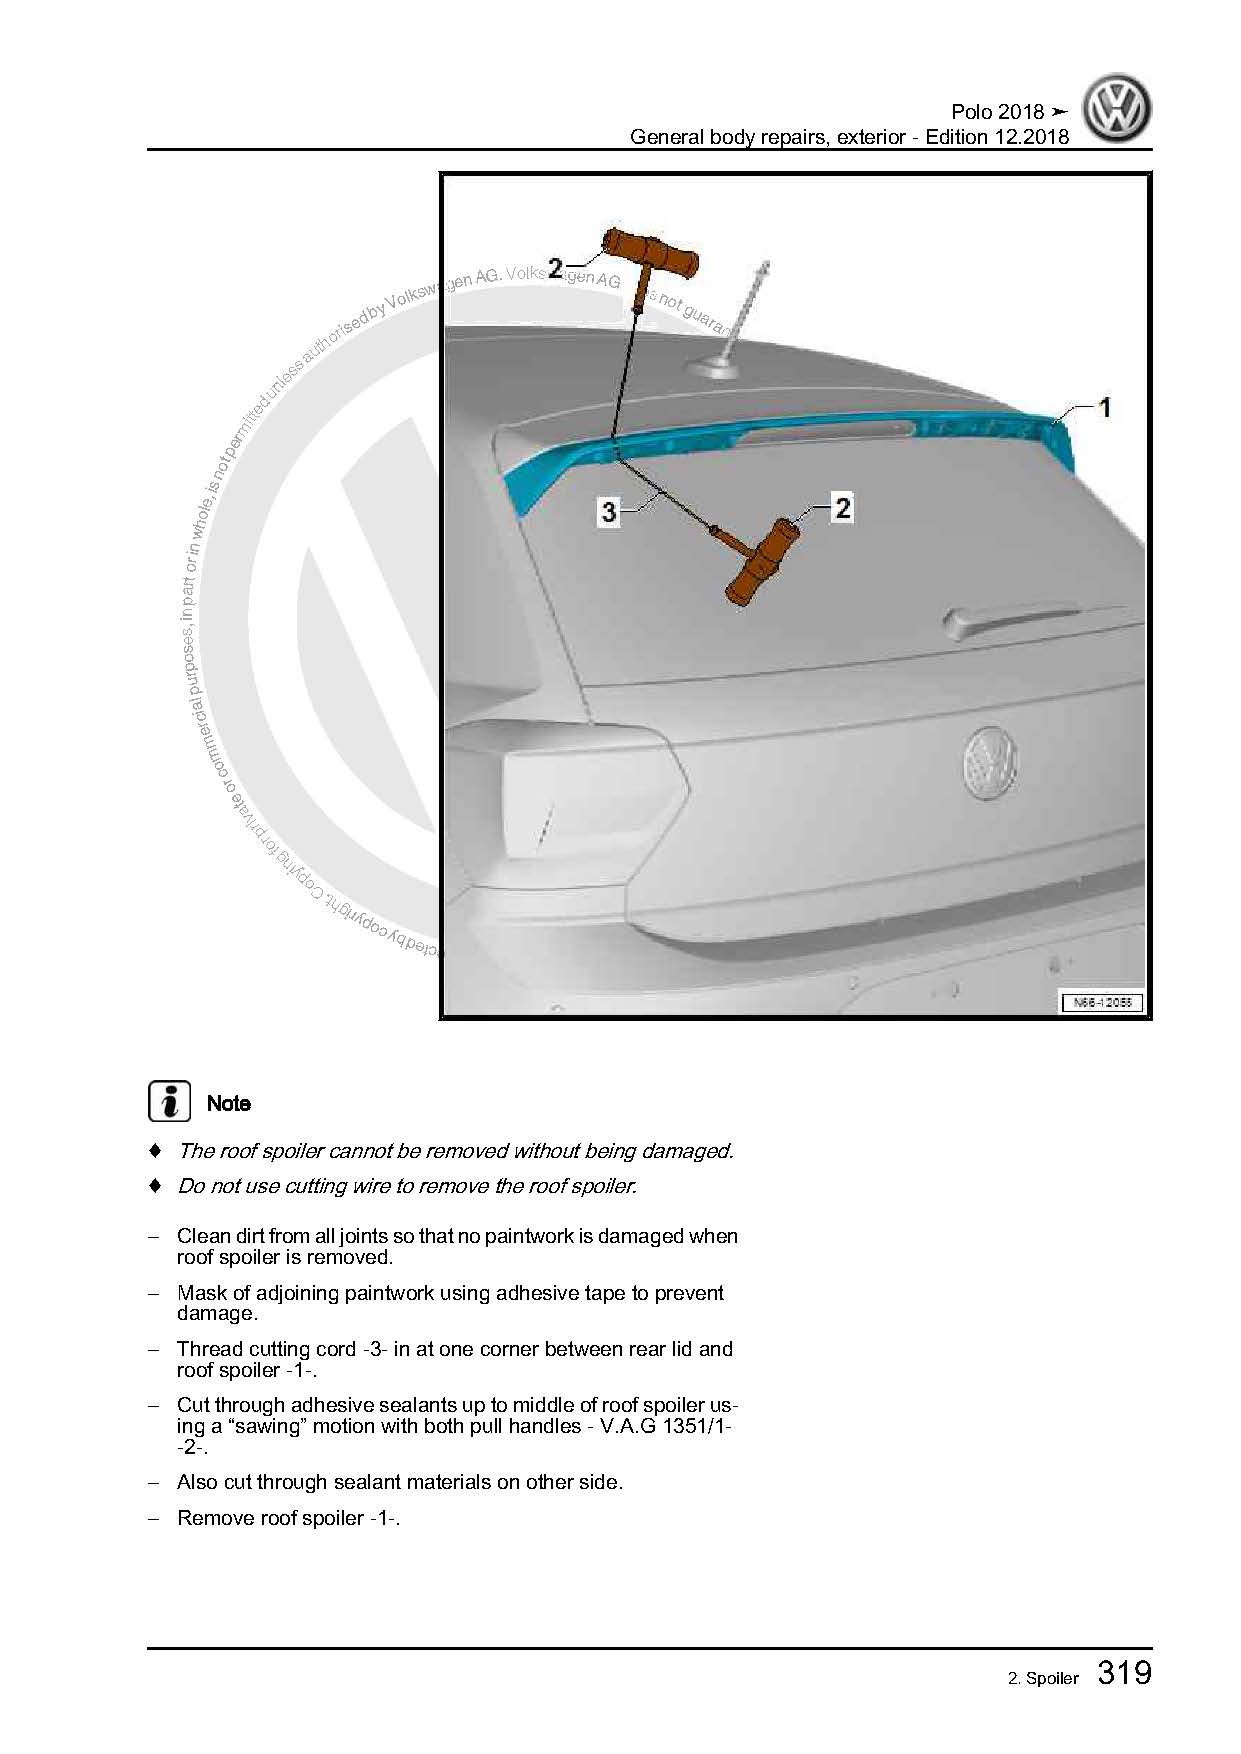
- Spoiler
- Assembly overview – spoiler, GTI, R-Line
- Removing and installing spoiler, GTI, R-Line
- Mouldings, trims, extensions
- Assembly overview – side member trim, GTI, R-Line
- Removing and installing A-pillar trim
- Removing and installing B-pillar trim on door
- Removing and installing C-pillar trim on door
- Removing and installing entry moulding
- Removing and installing side member trim, GTI, R-Line
- Noise insulation
- Assembly overview – noise insulation
- Underbody cladding
- Overview of fitting locations – underbody cladding
- Removing and installing underbody cladding
- Removing and installing centre underbody panels
- Removing and installing rear underbody panel
- Exterior mirror
- Assembly overview – exterior mirror
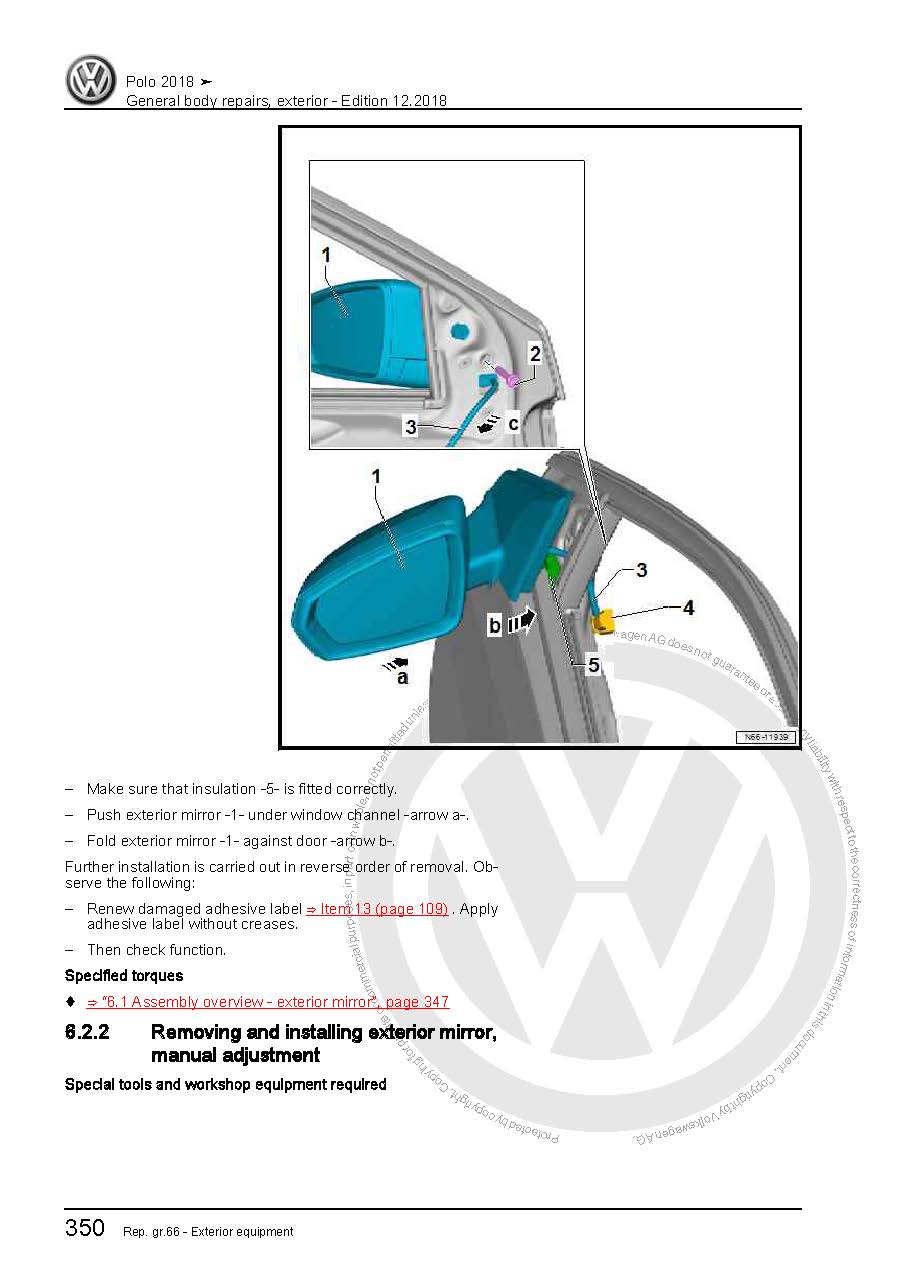
- Removing and installing exterior mirror
- Removing and installing mirror glass
- Removing and installing mirror adjustment unit
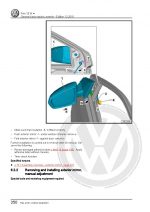
- Removing and installing mirror cover
- Removing and installing mirror trim
- Removing and installing turn signal
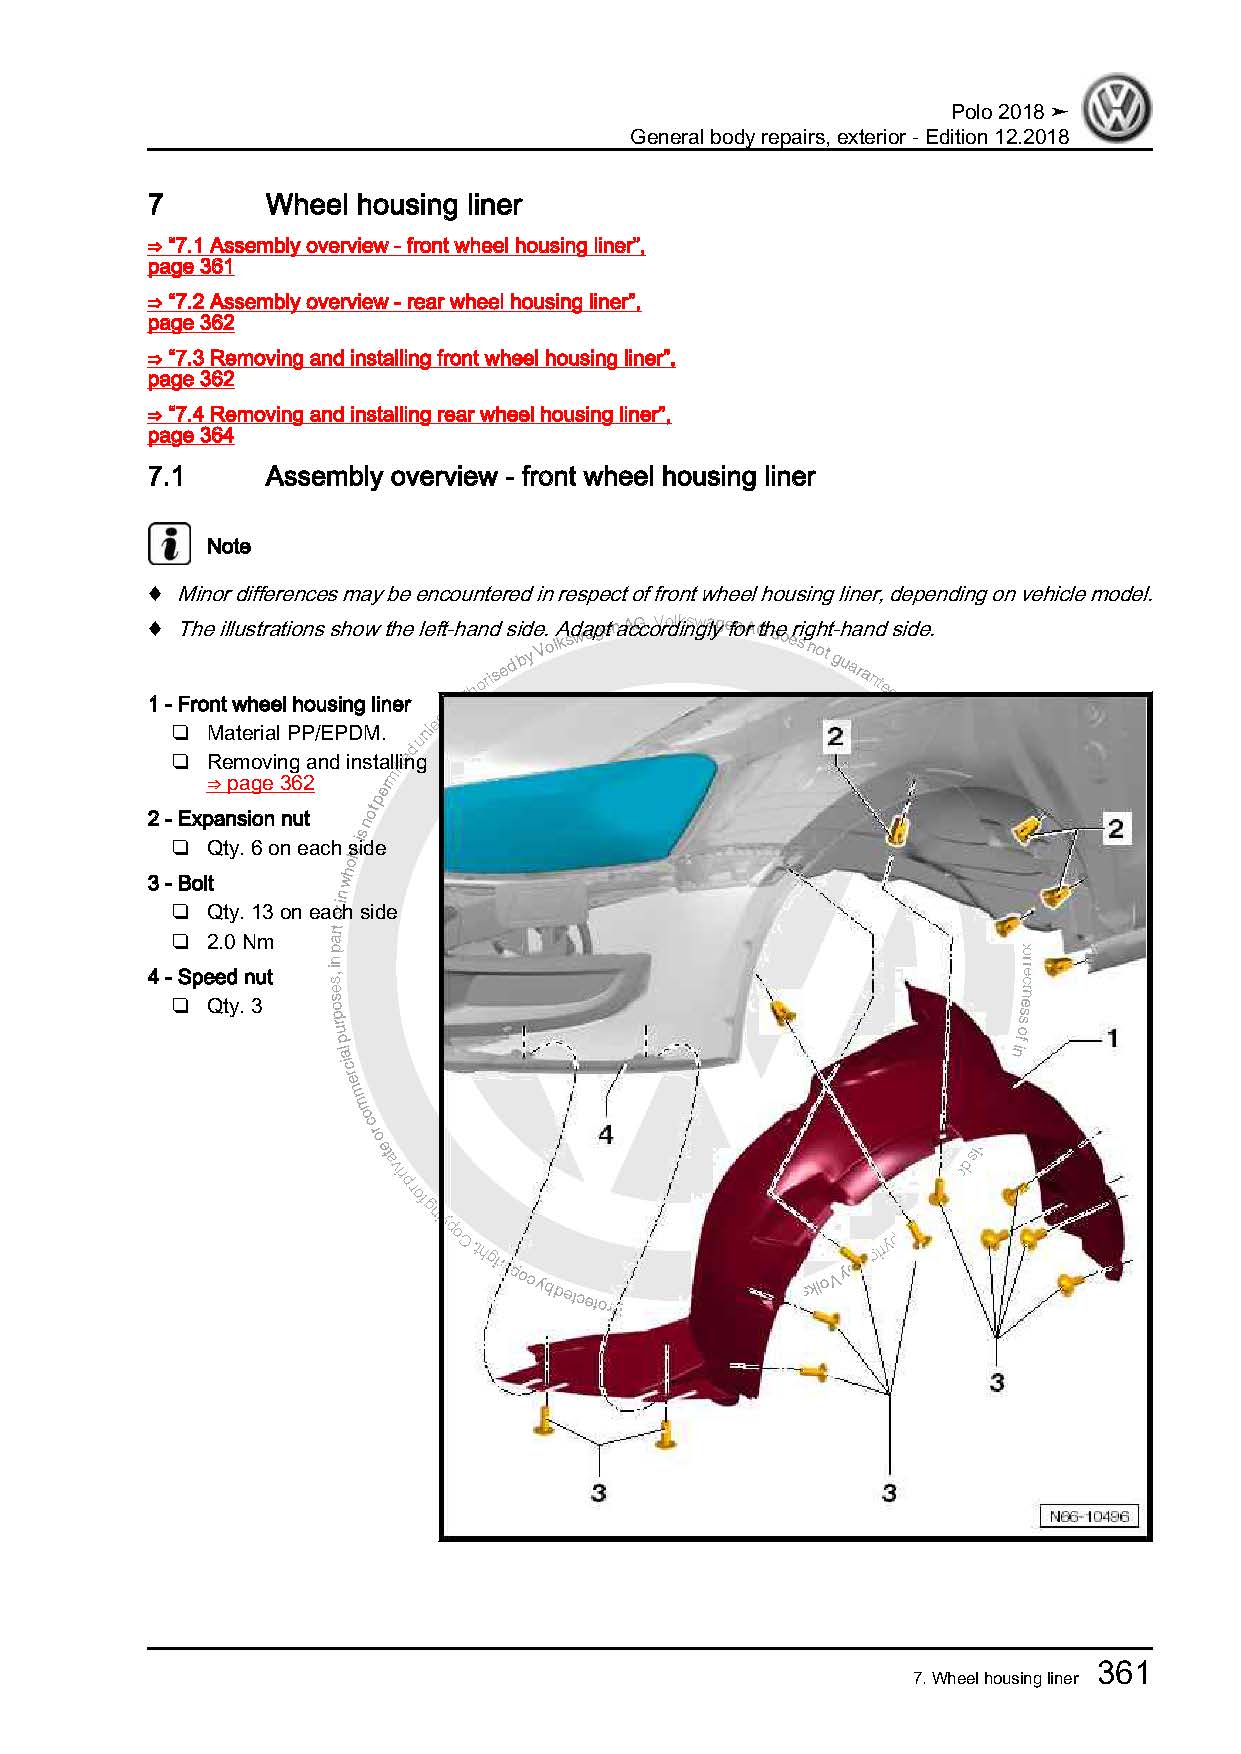
- Wheel housing liner
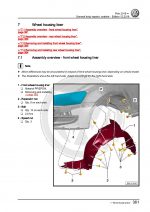
- Assembly overview – front wheel housing liner
- Assembly overview – rear wheel housing liner
- Removing and installing front wheel housing liner
- Removing and installing rear wheel housing liner
- Trim film and protective film
- Renewing decorative film and protective film
- Decorative film dimensions
- Renewing decorative film
- Lettering and emblems
- Dimensions – lettering and emblems on rear
- Dimensions – lettering and emblems on sides
- Renewing lettering and badges on sides, GTI, R-Line
- Removing and installing lettering and emblems for radiator grille
- Renewing lettering and badges at rear
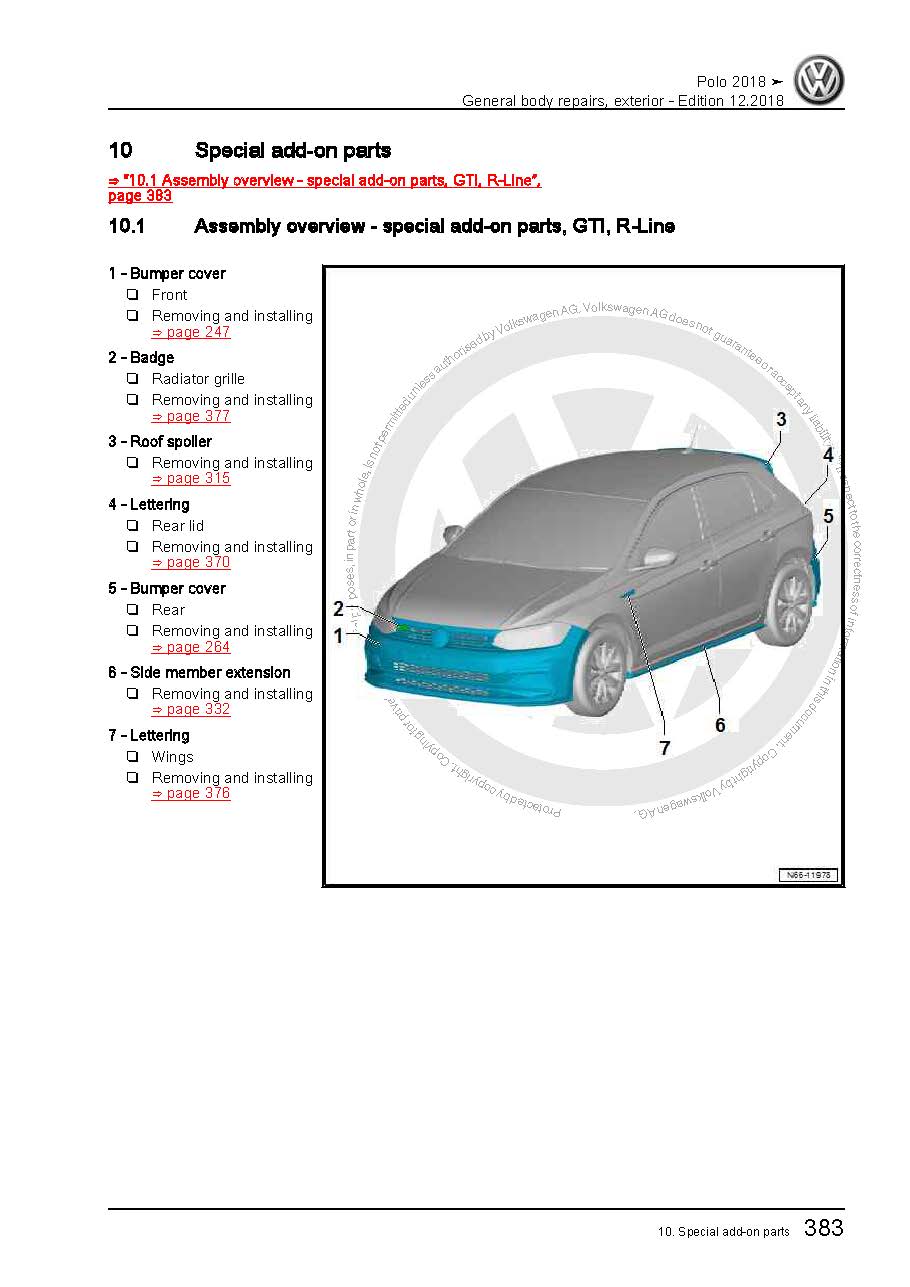
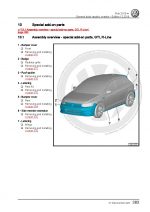
- Special add-on parts
- Assembly overview – special add-on parts, GTI, R-Line
- Towing bracket
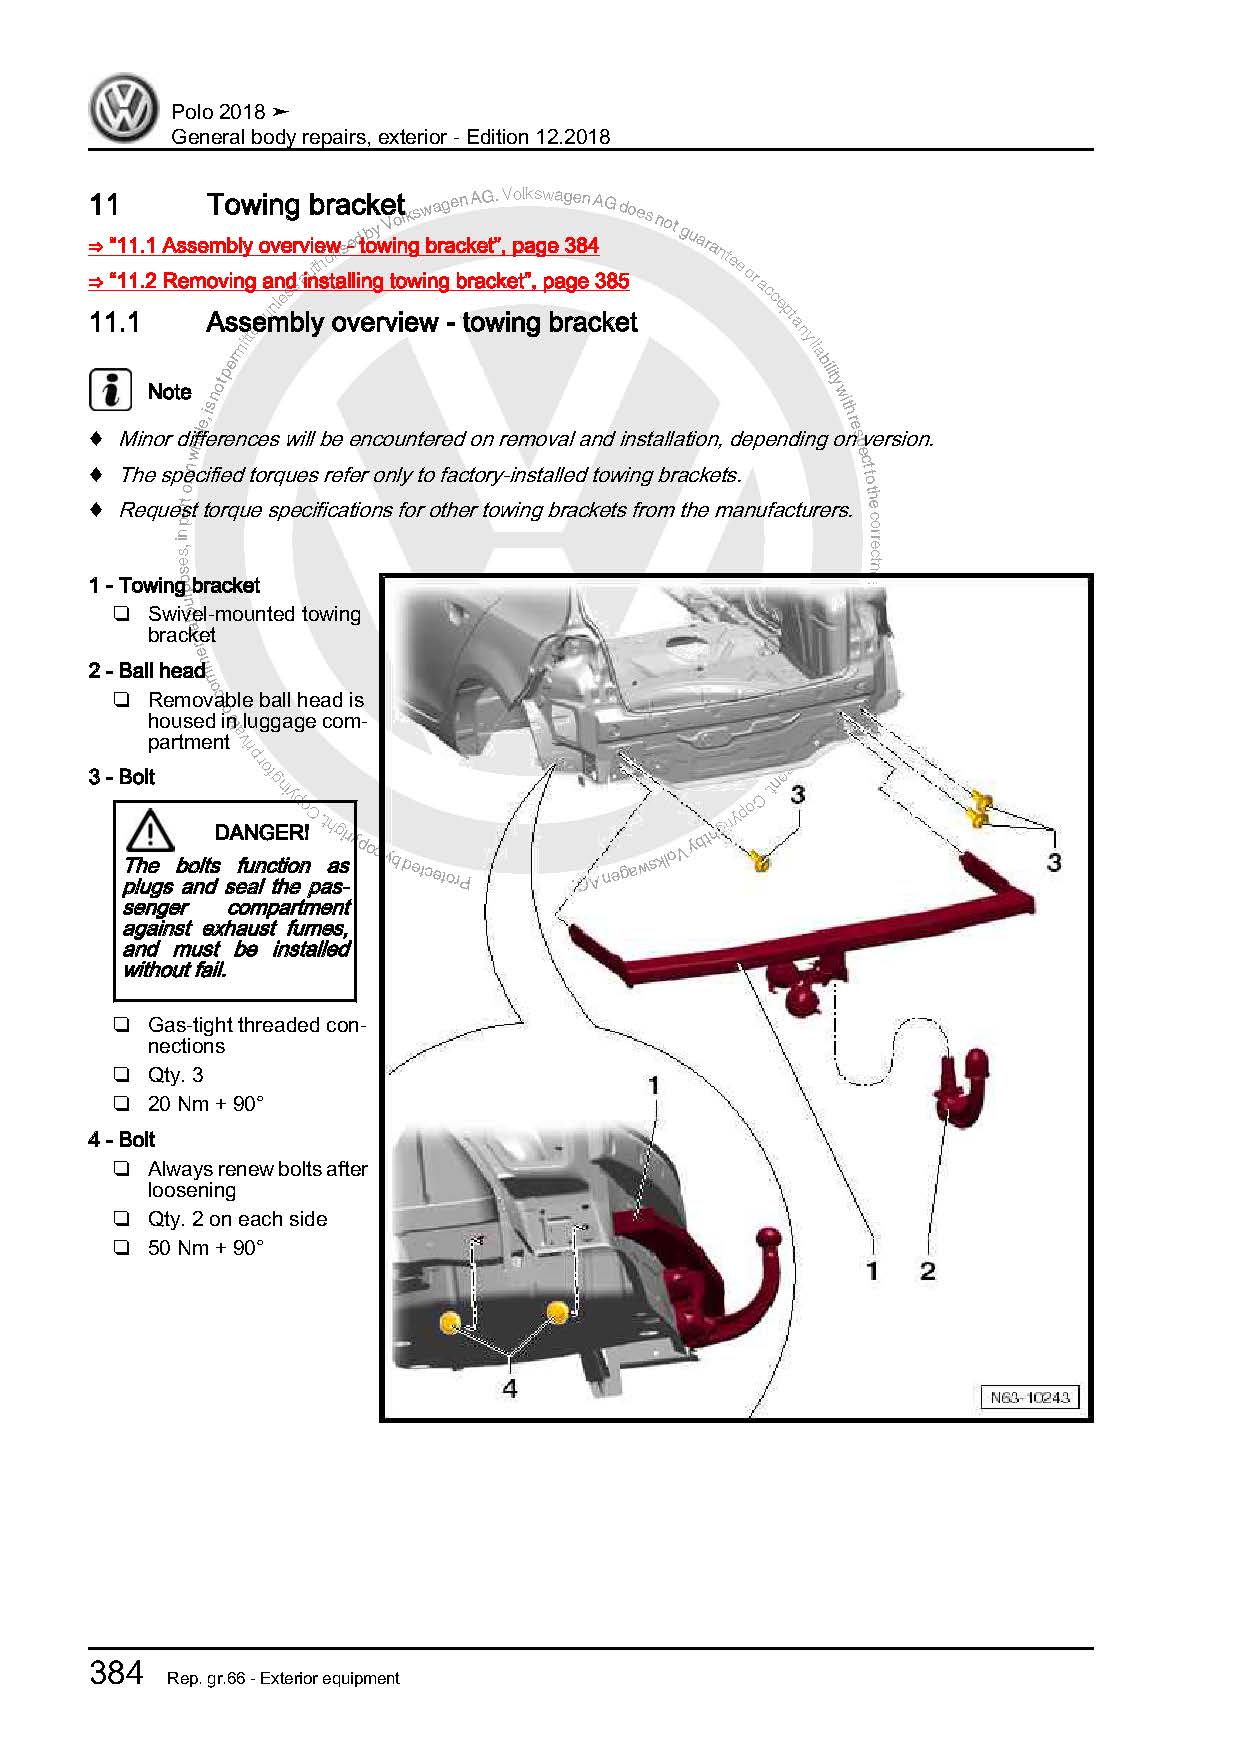
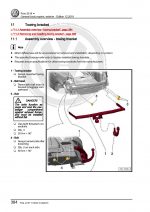
- Assembly overview – towing bracket
- Removing and installing towing bracket
- Heat shields
- Overview of fitting locations – heat shields
- Removing and installing underbody heat shield
- Removing and installing heat shield for centre exhaust system
- Removing and installing heat shield for rear silencer





 Abrites AVDI J2534
 Actia Multi-Diag
 Autoland iSCAN
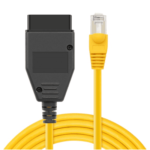 BMW ENET
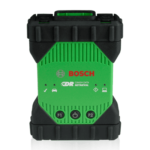 Bosch Mastertech II J2534
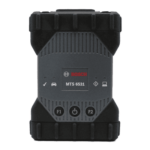 Bosch MTS 6531
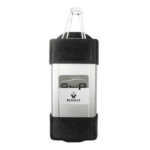 CAN CLIP RLT2002
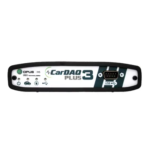 CarDAQ-Plus 3
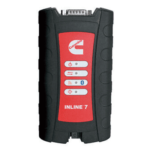 Cummins INLINE Datalink
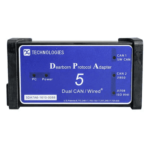 Dearborn Protocol Adapter (DPA) 5
 Delphi/Autocom DS150E
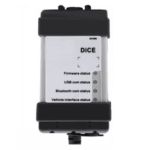 Volvo VIDA DiCE
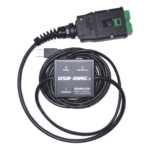 Derelek USB DIAG 3
 Electronic Data Link (EDL) 2
 Electronic Data Link (EDL) 3
 GM MDI 1
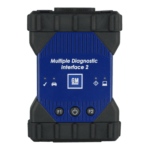 GM MDI 2
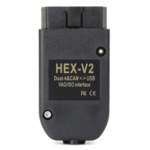 HEX-V2 VCDS VAG-COM
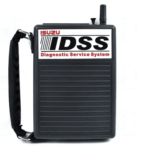 Isuzu IDSS IDS MX1
 Isuzu IDSS IDS MX2
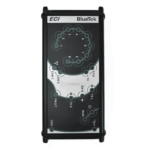 Iveco Eltrac E.A.SY. ECI
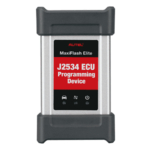 MaxiFlash Elite J2534
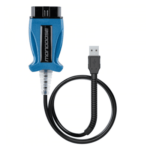 Mongoose J2534
 Nexiq USB-Link 1
 Nexiq USB-Link 2
 Nexiq USB-Link 3
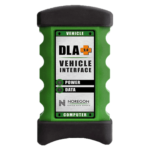 Noregon DLA+ 2.0
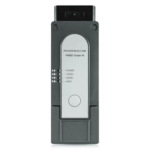 Porsche PIWIS TESTER 3 (PT3G)
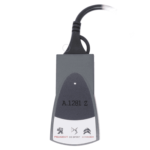 PSA LEXIA 3
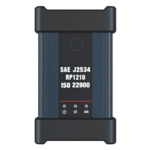 SAE J2434
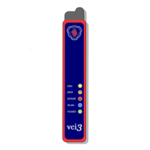 Scania VCI 3
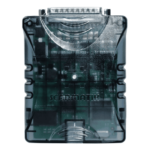 Scanmatik 2 PRO
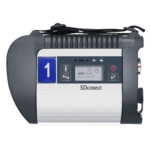 SD Connect Multiplexer
 Tactrix OpenPort 2.0
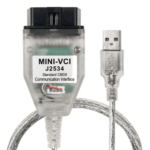 Toyota TIS Mini VCI
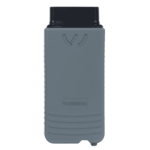 VAG ODIS VAS5054 Clone
 VAG ODIS VAS6154 Clone
 Volvo VOCOM 1
 Volvo VOCOM 2



Reviews
Clear filtersThere are no reviews yet.