VW Polo (AW/BZ) Interior General Body Repairs Workshop Manual with high-quality graphics and illustrations.
Format: PDF
Pages: 273
Delivery: The download link will instantly be sent to your email after checkout.
Covered VW Vehicles
- Polo (AW/BZ) series
Repair Group:
- Technical data
- Interior equipment
- Passenger protection
- Trim, insulation
- Seat frames
- Seat – padding, covers
Contents:
- Technical data
- Safety information
- Safety measures when working on vehicles with a start/stop system
- Safety measures when working with pyrotechnic components
- Storage, transportation and disposal of airbag, belt tensioner and battery isolator units(pyrotechnic components)
- Additional safety regulations for side airbag
- Additional safety instructions for curtain airbag
- Safety regulations for crash sensors (pressure sensors) for front side airbags
- Additional safety instructions for repair work on seat occupied recognition for front passenger
- airbag deactivation – country-specific
- Measures for seat occupied recognition for front passenger airbag deactivation following an
- accident – country-specific
- Renewing pyrotechnic, electrical and mechanical components of the restraint system after an accident
- Checking airbag securing parts after an accident
- Accident without airbag triggering
- Checking seat belts
- Check belt webbing
- Checking inertia reel (locking mechanism)
- Visually checking belt buckle
- Check operation of belt buckle
- Checking belt relays, and buckle tongues
- Checking securing parts and anchorage points after an accident
- Checking seat belt restraint function for holding additional child seats (not for driver’s seat belt) – country-specific
- Checking child seat anchors after an accident
- Repair notes
- Contact corrosion
- Routing and attachment of lines
- Interior equipment
- Compartments/covers
- Overview of fitting locations – storage compartments/covers
- Assembly overview – driver side dash panel cover
- Assembly overview – steering column trim
- Assembly overview – glove compartment
- Assembly overview – storage compartment in roof headliner
- Removing and installing upper steering column trim
- Removing and installing lower steering column trim
- Removing and installing glove compartment
- Removing and installing glove compartment cover
- Service position for glove compartment lid
- Removing and installing damper element for glove compartment lid
- Removing and installing dash panel cover on driver side
- Removing and installing headliner storage compartment
- Removing and installing handbrake lever boot
- Equipment
- Assembly overview – sun visors
- Removing and installing sun visor
- Removing and installing sun visor centre mount
- Centre console
- Assembly overview – centre console
- Removing and installing rear centre console trim
- Removing and installing centre console trim in front footwell
- Removing and installing centre console
- Removing and installing centre console bracket
- Front centre armrest
- Assembly overview – front centre armrest
- Removing and installing front centre armrest
- On inside
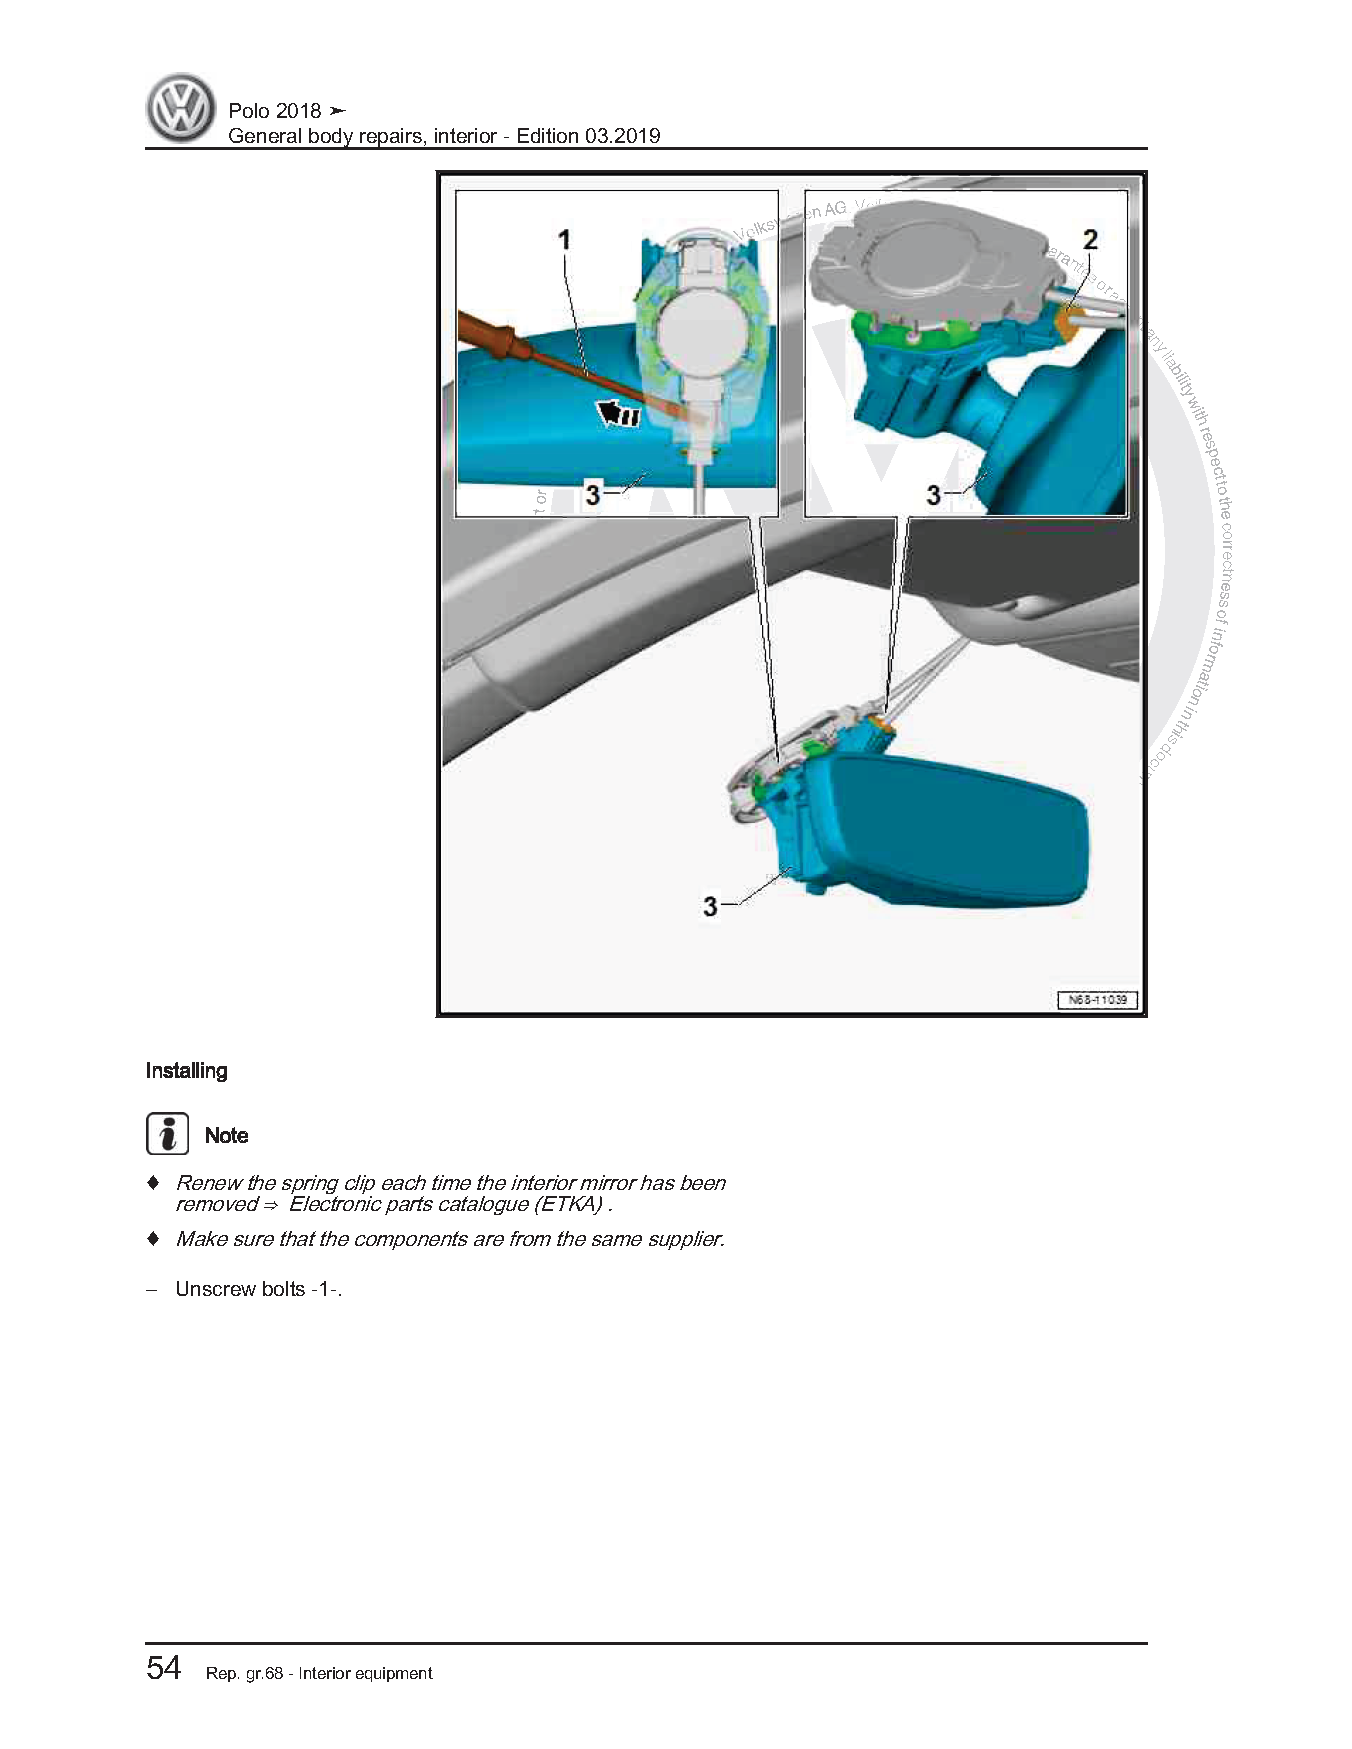
- Assembly overview – interior mirror
- Removing and installing interior mirror
- Bonding retaining plate for interior mirror
- Passenger protection
- Seat belts
- Overview of fitting locations – seat belts and anchorage points
- Assembly overview – front three-point seat belt
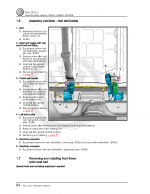
- Assembly overview – rear outer three-point seat belt
- Assembly overview – rear centre three-point seat belt
- Assembly overview – front belt buckle
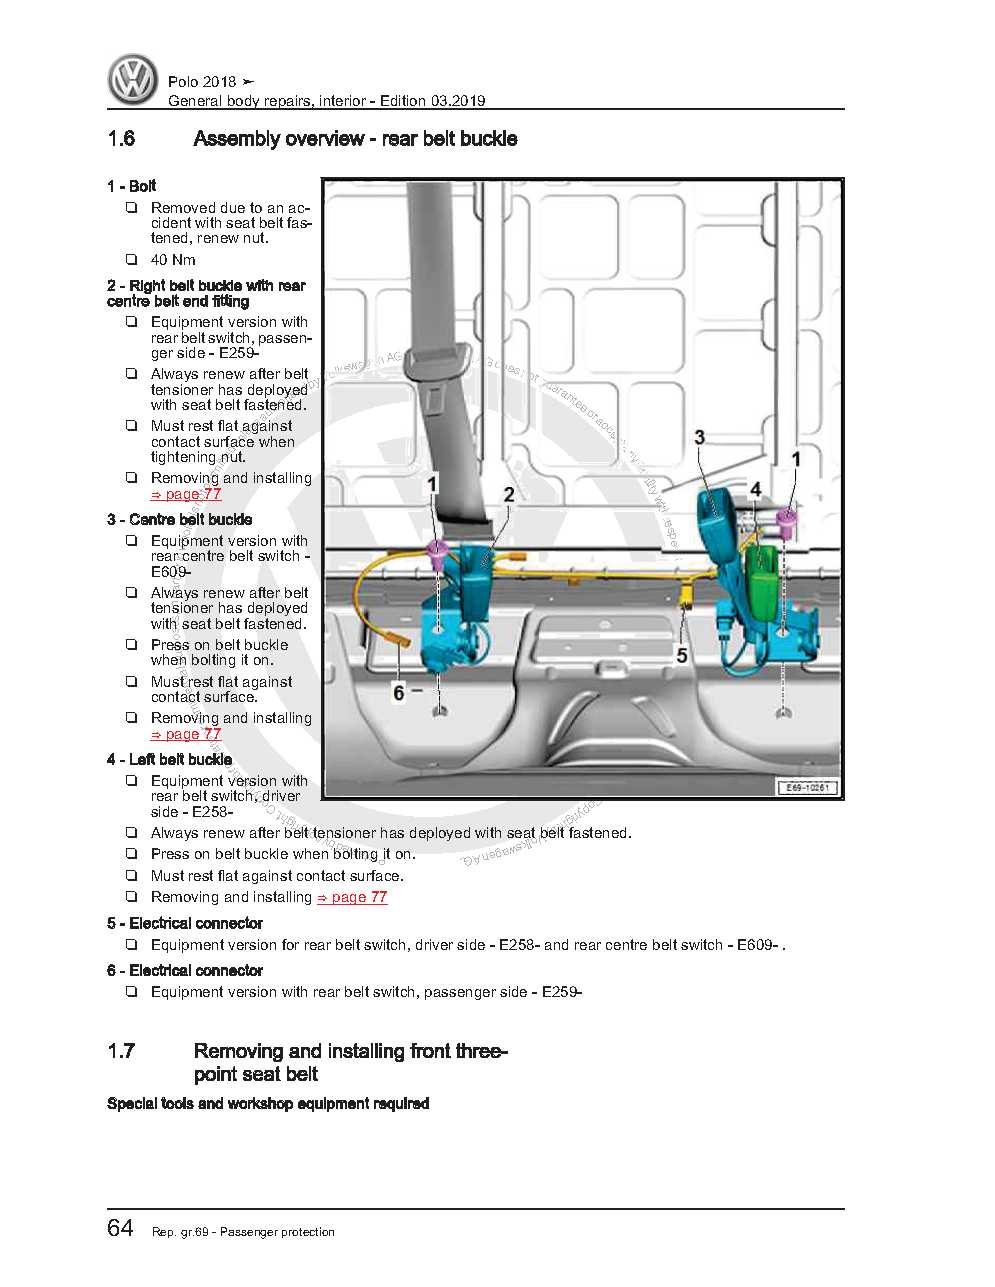
- Assembly overview – rear belt buckle
- Removing and installing front three-point seat belt
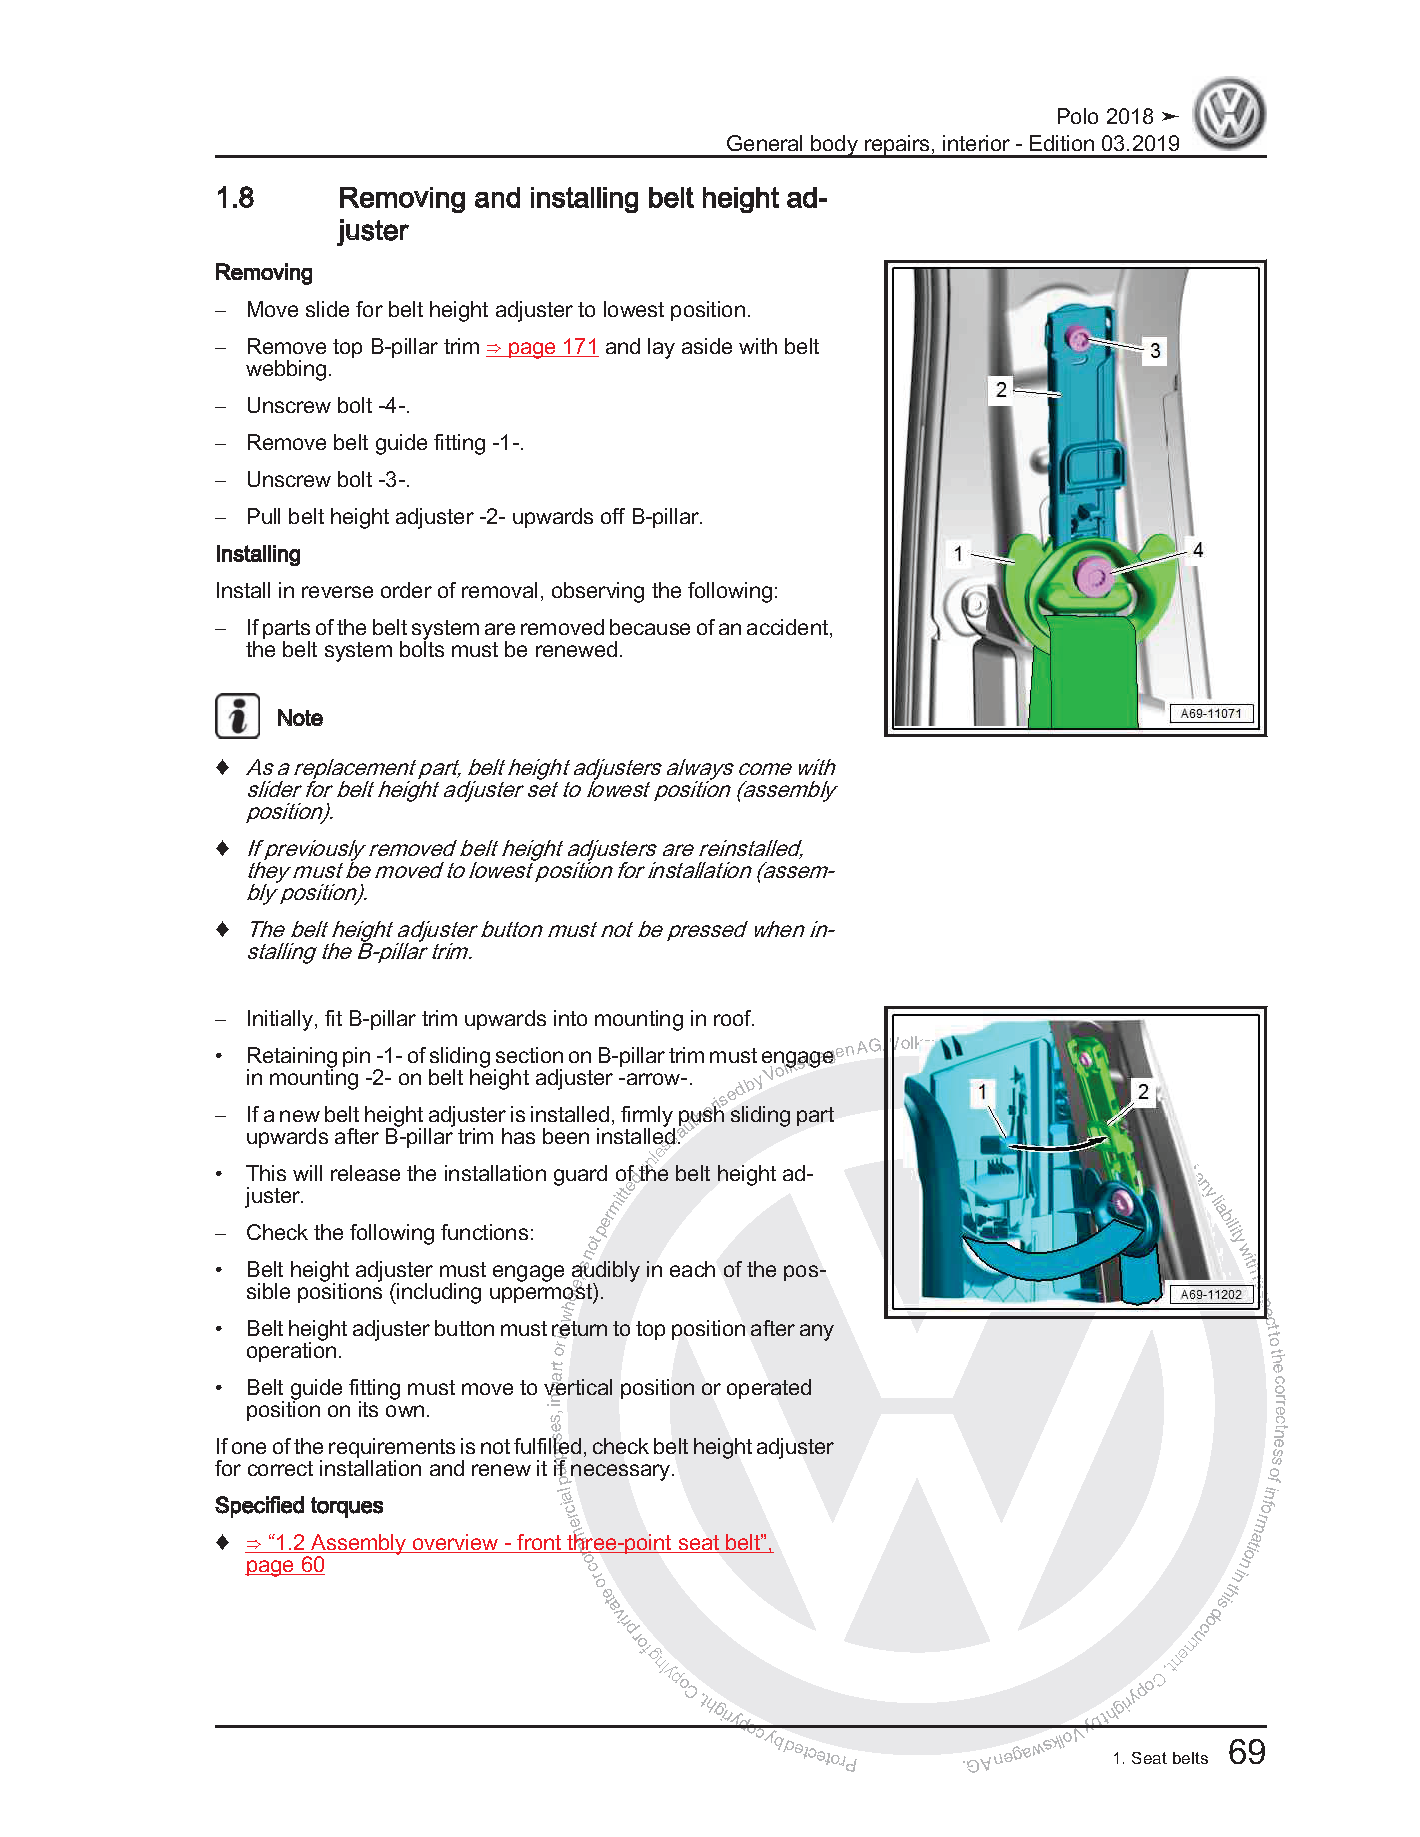
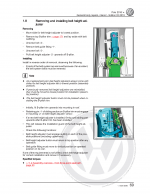
- Removing and installing belt height adjuster
- Removing and installing front belt guide
- Removing and installing rear three-point seat belt
- Removing and installing rear belt guide
- Removing and installing front belt end fitting
- Removing and installing rear outer belt end fitting
- Removing and installing front belt buckle
- Removing and installing rear belt buckle
- Child seat anchors
- Assembly overview – rear child seat anchors
- Removing and installing rear child seat anchors
- Airbag system
- Overview of fitting locations – airbag system
- Airbag control unit
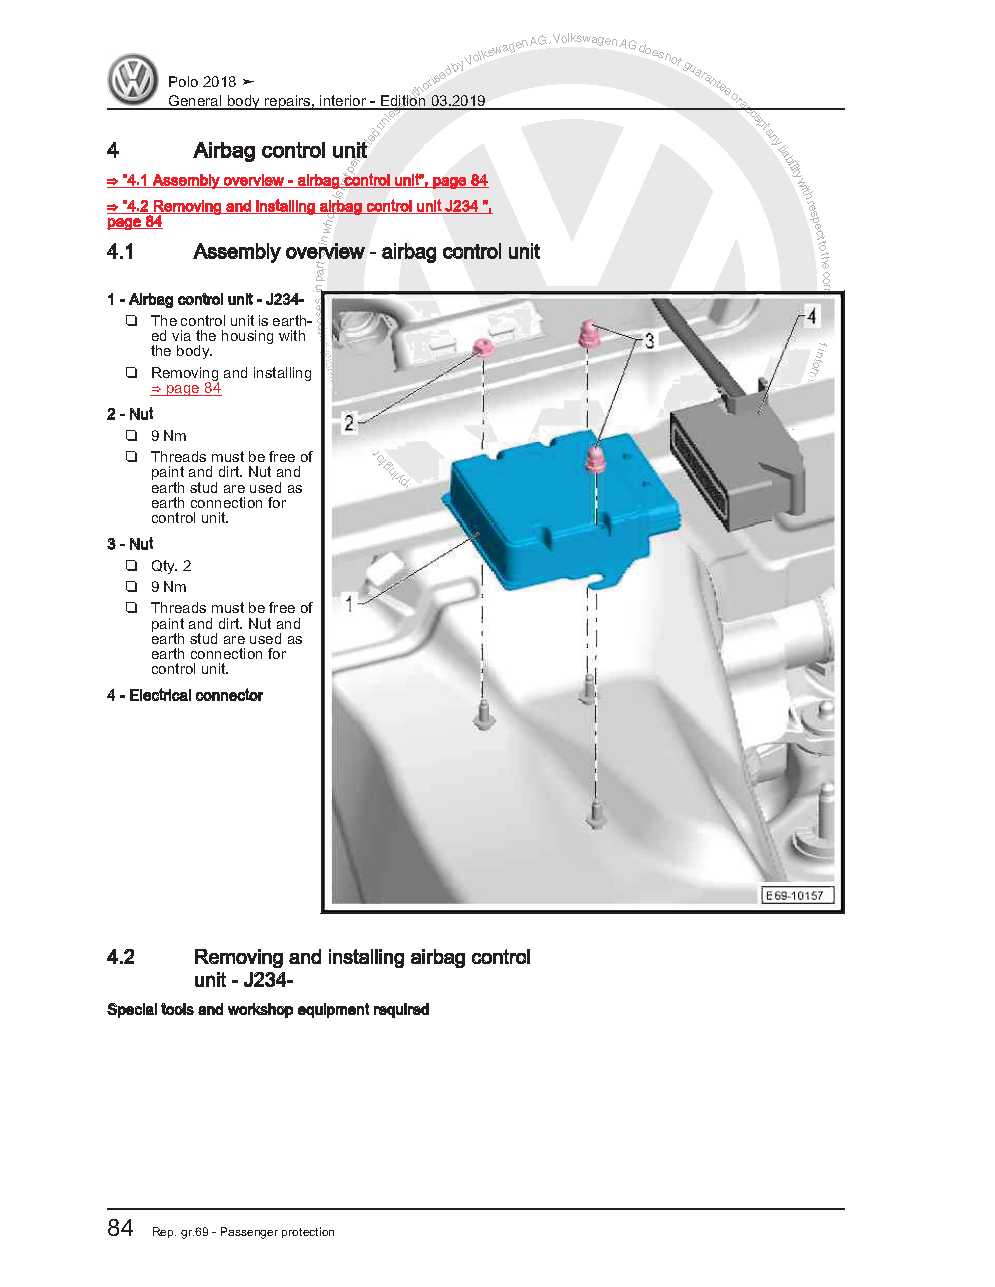
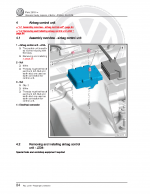
- Assembly overview – airbag control unit
- Removing and installing airbag control unit J234
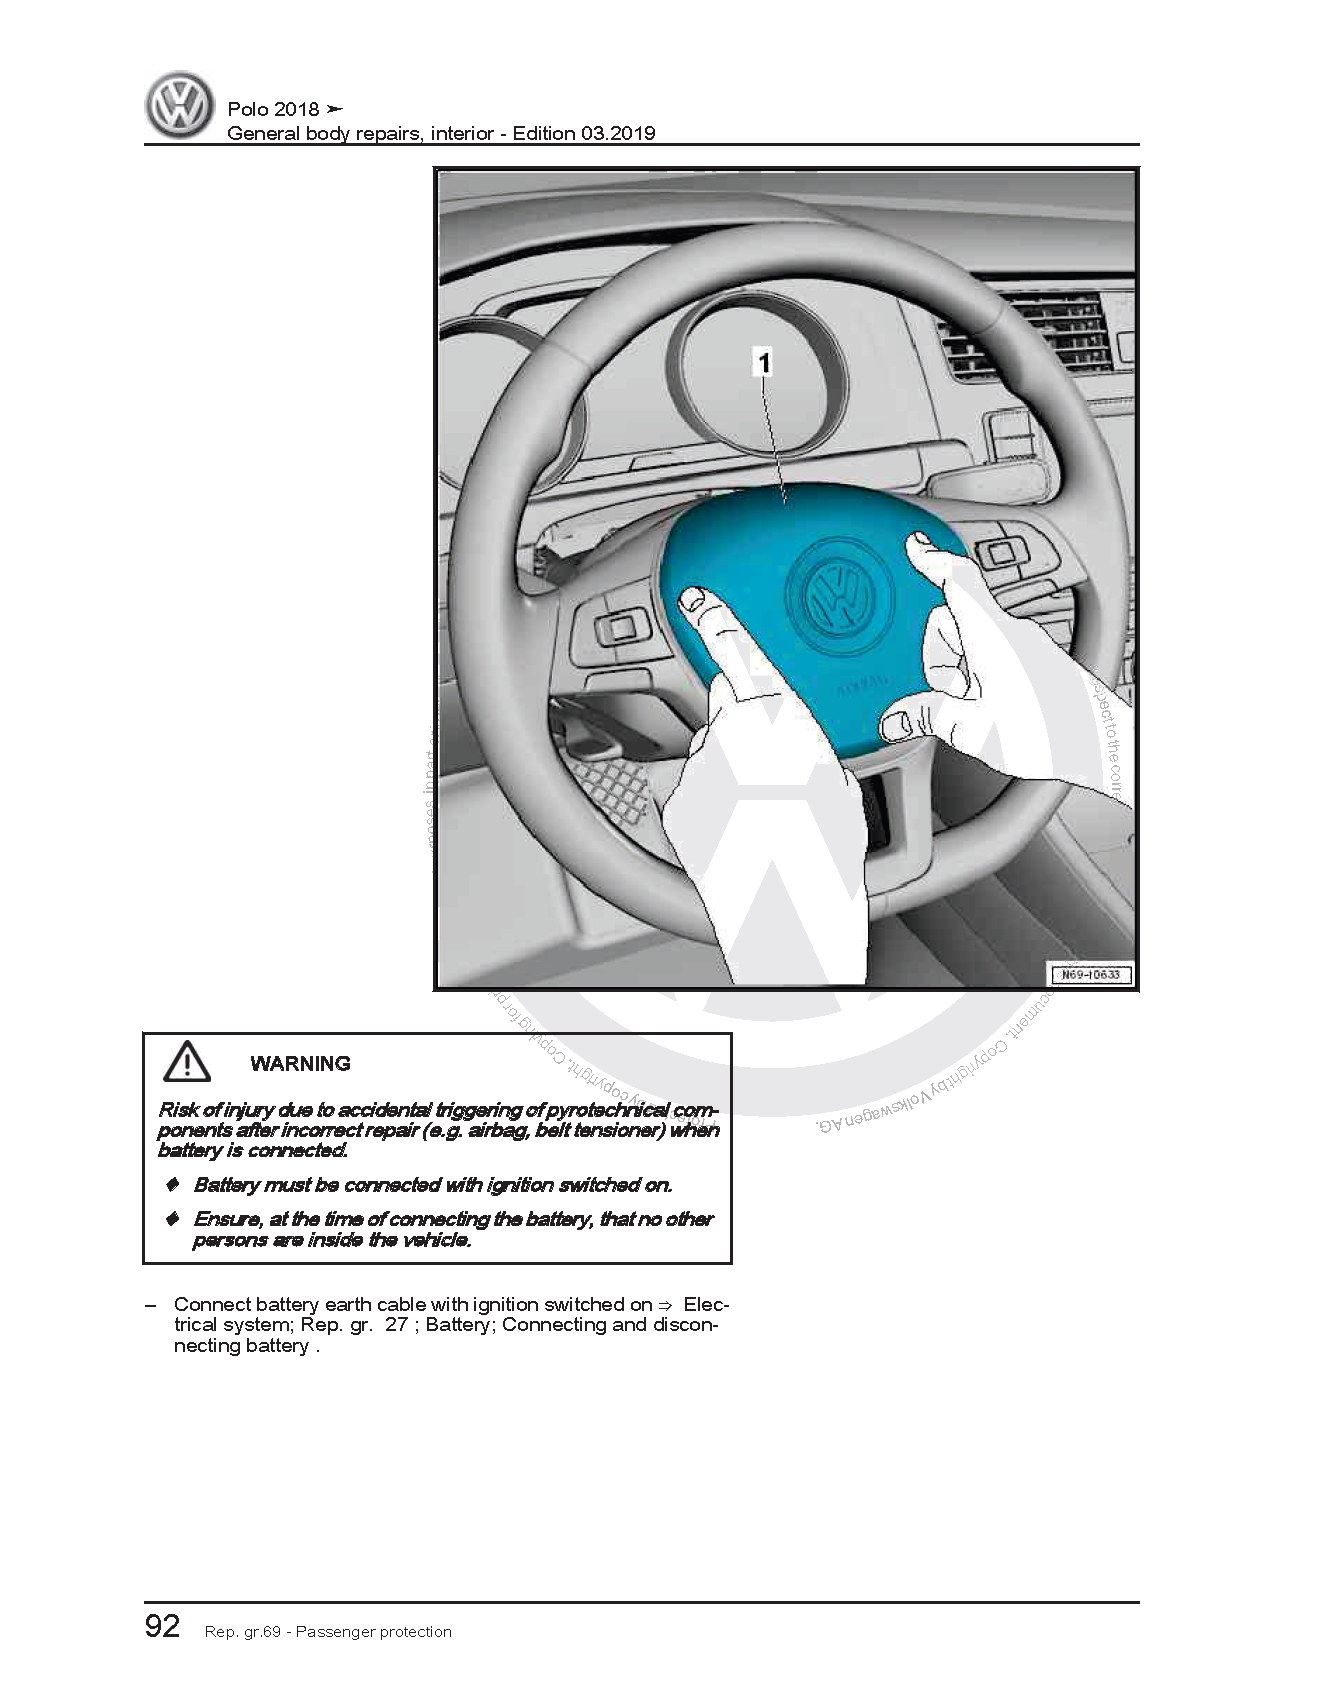
- Driver’s airbag
- Assembly overview – driver side airbag
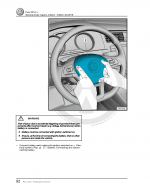
- Removing and installing airbag unit with igniter
- Renewing connector on airbag
- Front passenger side airbag
- Assembly overview – front passenger side airbag
- Removing and installing front passenger side airbag unit with igniter
- Removing and installing key-operated switch to deactivate front passenger side airbag
- Side airbags
- Assembly overview – front side airbag
- Removing and installing front side airbag with igniter
- Curtain airbags
- Assembly overview – curtain airbag
- Removing and installing curtain airbag with igniter
- Airbag crash sensors
- Overview of fitting locations – airbag crash sensors
- Removing and installing crash sensor for front airbag G190
- Removing and installing front side airbag crash sensor G179 / G180
- Removing and installing rear side airbag crash sensor G256 / G257
- Seat belt verification
- Removing and installing Seat occupied sensor, front passenger side G128
- Trim, insulation
- Front door trims
- Assembly overview – front door trim
- Removing and installing front door trim
- Removing and installing button trim
- Removing and installing mirror cover trim
- Removing and installing interior door handle
- Rear door trims
- Assembly overview – rear door trim
- Removing and installing rear door trim
- Dash panel
- Assembly overview – dash panel
- Removing and installing dash panel end cover
- Removing and installing dash panel trim
- Removing and installing dash panel insert trim
- Removing and installing radio/navigation system blanking plate
- Removing and installing dash panel
- Removing and installing outer dash panel vents
- Removing and installing centre vent
- Removing and installing side defroster vent
- Central tube for dash panel
- Assembly overview – central tube for dash panel
- Removing and installing central tube for dash panel
- Removing and installing crash bar
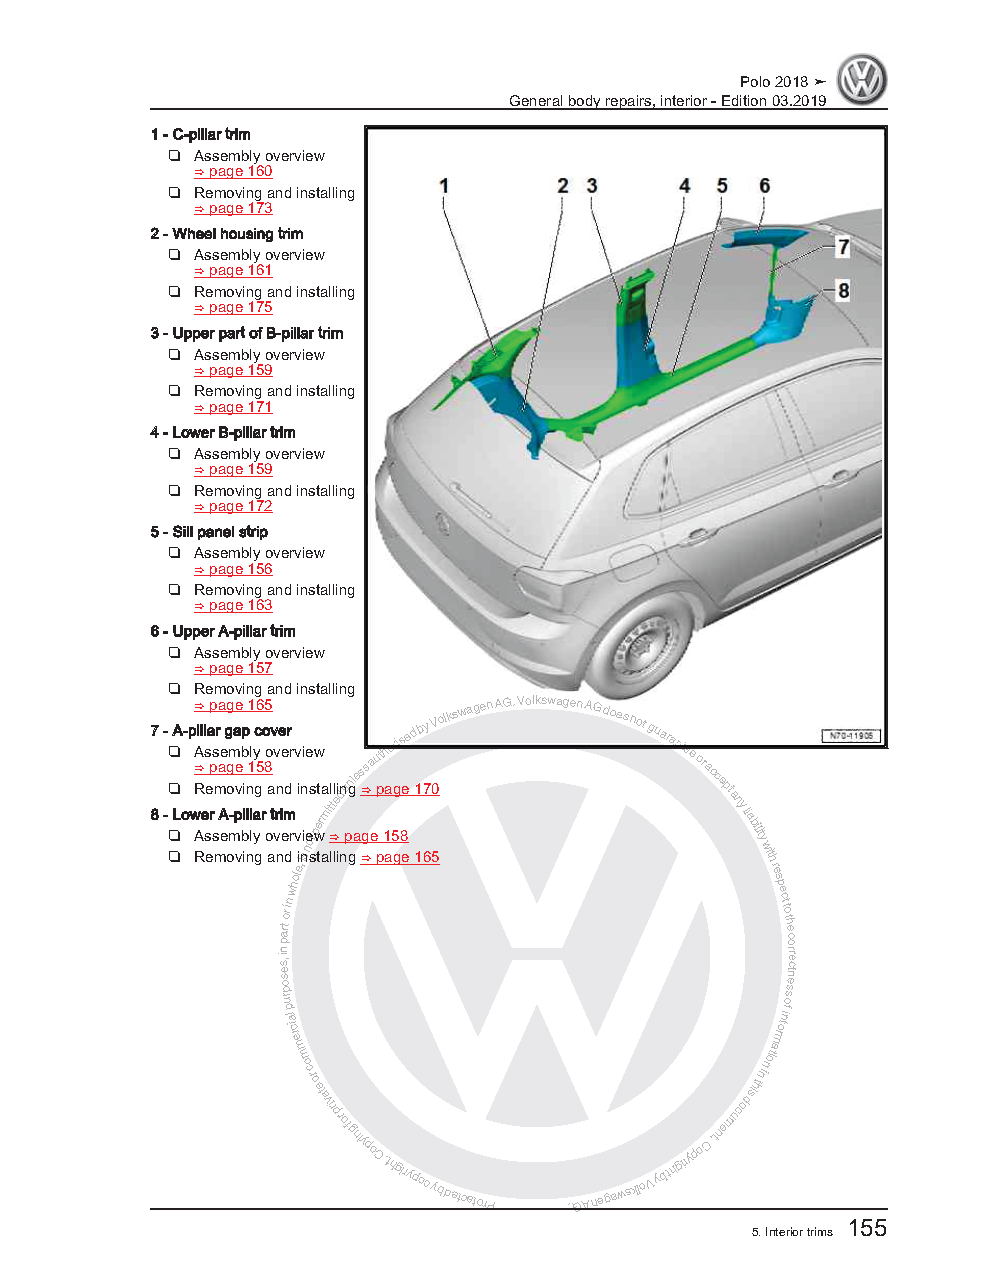
- Interior trims
- Overview of fitting locations – interior trims
- Assembly overview – sill panel moulding
- Assembly overview – A-pillar trim
- Assembly overview – B-pillar trim
- Assembly overview – C-pillar trim
- Assembly overview – wheel housing trim
- Assembly overview – foot rest and floor covering
- Removing and installing sill panel moulding
- Removing and installing A-pillar trim
- Removing and installing A-pillar gap cover
- Removing and installing B-pillar trim
- Removing and installing C-pillar trim
- Removing and installing wheel housing trims
- Removing and installing foot rest
- Removing and installing floor covering
- Luggage compartment trims
- Overview of fitting locations – luggage compartment trims
- Assembly overview – luggage compartment side trim
- Assembly overview – luggage compartment floor
- Assembly overview – lower rear lid trim
- Removing and installing lower rear lid trim
- Removing and installing rear shelf support
- Removing and installing luggage compartment side trim
- Removing and installing lock carrier trim
- Removing and installing support for luggage compartment floor
- Roof trims
- Assembly overview – moulded headliner
- Removing and installing moulded headlining
- Installing roof reinforcement to body
- Seat frames
- Overview of seat variants
- Overview of fitting locations – seat variants
- Front seats
- Overview of fitting locations – electrical and electronic components
- Assembly overview – front seat
- Assembly overview – front backrest
- Assembly overview – head restraint
- Assembly overview – seat pan
- Assembly overview – storage compartment
- Assembly overview – seat height adjustment
- Assembly overview – vehicle wallet holder
- Removing and installing front seat
- Connecting and disconnecting airbag adapter
- Removing and installing handle for seat height adjustment
- Removing and installing seat height adjustment unit
- Removing and installing lumbar support adjustment unit
- Removing and installing backrest adjustment unit
- Removing and installing front backrest
- Removing and installing head restraint
- Removing and installing head restraint guide
- Removing and installing bracket for seat trim
- Removing and installing storage compartment
- Removing and installing vehicle wallet holder
- Removing and installing seat pan
- Removing and installing seat trim
- Mounting front seat on seat repair stand
- Rear seats
- Assembly overview – bench seat / individual seats
- Assembly overview – locking mechanism
- Assembly overview – head restraint and head restraint guide
- Assembly overview – rear seat backrest
- Removing and installing bench seat / individual seats
- Removing and installing head restraint
- Removing and installing head restraint guide
- Removing and installing rear seat backrest
- Removing and installing trim for locking mechanism
- Removing and installing locking mechanism for rear seat backrest
- Removing and installing inner pivot pin
- Removing and installing backrest cover panel
- Seat – padding, covers
- Front seat covers and padding
- Assembly overview – cover and padding for seat pan
- Assembly overview – cover and padding for backrest
- Assembly overview – seat heating element
- Assembly overview – backrest heater element
- Removing and installing cover and padding for seat pan
- Removing and installing backrest cover and backrest padding
- Separating cover and padding on seat pan
- Separating cover and padding on backrest
- Removing and installing seat heating element Z6 / Z8
- Removing and installing backrest heating element Z7 / Z9
- Rear seat covers and padding
- Assembly overview – cover and padding
- Removing and installing covers and padding
- Separating cover and padding





 Abrites AVDI J2534
 Actia Multi-Diag
 Autoland iSCAN
 BMW ENET
 Bosch Mastertech II J2534
 Bosch MTS 6531
 CAN CLIP RLT2002
 CarDAQ-Plus 3
 Cummins INLINE Datalink
 Dearborn Protocol Adapter (DPA) 5
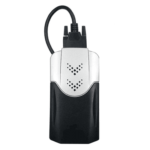 Delphi/Autocom DS150E
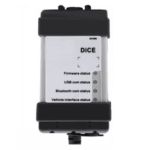 Volvo VIDA DiCE
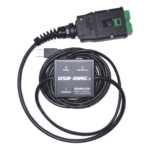 Derelek USB DIAG 3
 Electronic Data Link (EDL) 2
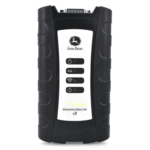 Electronic Data Link (EDL) 3
 GM MDI 1
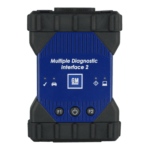 GM MDI 2
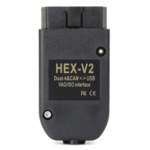 HEX-V2 VCDS VAG-COM
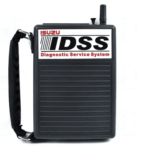 Isuzu IDSS IDS MX1
 Isuzu IDSS IDS MX2
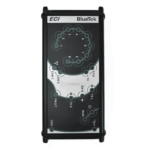 Iveco Eltrac E.A.SY. ECI
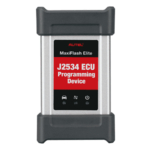 MaxiFlash Elite J2534
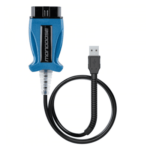 Mongoose J2534
 Nexiq USB-Link 1
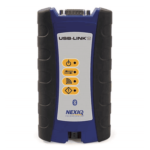 Nexiq USB-Link 2
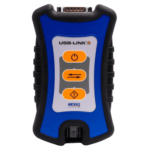 Nexiq USB-Link 3
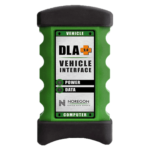 Noregon DLA+ 2.0
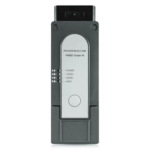 Porsche PIWIS TESTER 3 (PT3G)
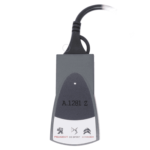 PSA LEXIA 3
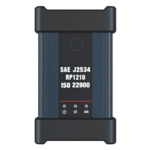 SAE J2434
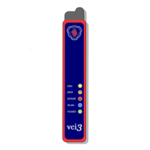 Scania VCI 3
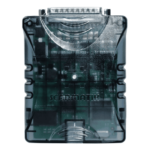 Scanmatik 2 PRO
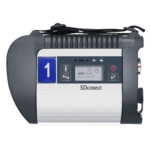 SD Connect Multiplexer
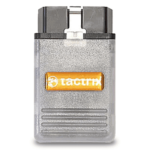 Tactrix OpenPort 2.0
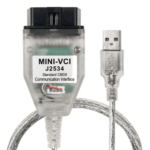 Toyota TIS Mini VCI
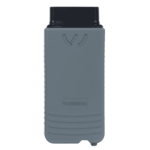 VAG ODIS VAS5054 Clone
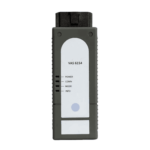 VAG ODIS VAS6154 Clone
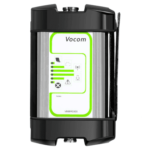 Volvo VOCOM 1
 Volvo VOCOM 2




Reviews
Clear filtersThere are no reviews yet.