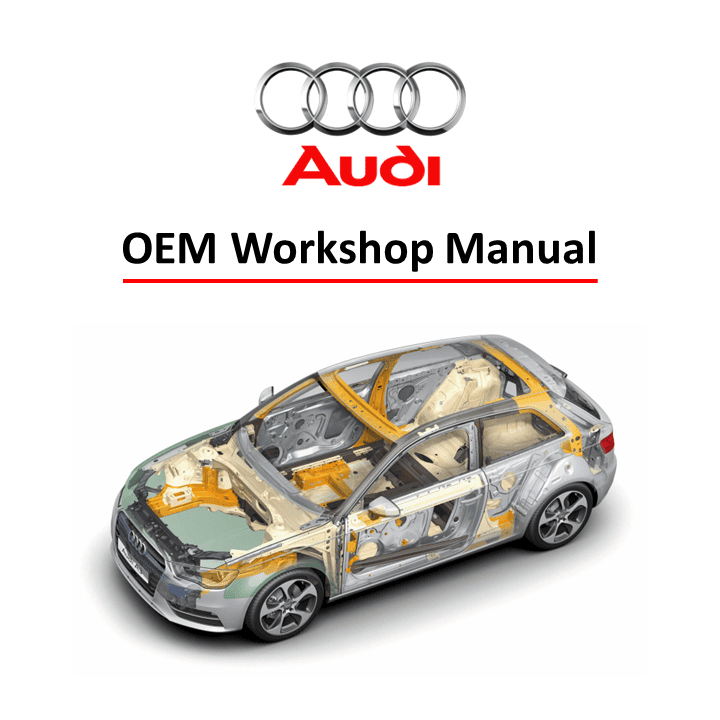
The Audi A3 (8V) Interior General Body Repairs Workshop Manual is an essential resource for anyone looking to maintain, repair, or restore the interior of their Audi A3 8V series. This manual offers detailed instructions and expert guidance on a wide range of interior repair tasks, from upholstery fixes to dashboard maintenance. Whether you’re a professional technician or a DIY enthusiast, this comprehensive guide ensures that the interior of your Audi A3 remains in top-notch condition.
Key Features:
- Comprehensive Repair Instructions: Step-by-step guidance on repairing and maintaining various interior components, including seats, trim panels, dashboard, and more.
- Detailed Diagrams: Clear and precise illustrations to help visualize the repair process, making complex tasks easier to understand and execute.
- OEM Standards: Ensures all repairs meet Audi’s original specifications for fit, finish, and safety.
- User-Friendly Format: Organized layout with easy-to-follow instructions, allowing quick access to the information you need.
- Enhanced Interior Aesthetics: Maintain the luxurious look and feel of your Audi A3’s interior by following professional repair techniques.
Format: PDF
Pages: 525
Delivery: The download link will be promptly delivered to your email upon completing the checkout process.
Covered Audi Vehicles:
- Audi A3 2013 ➤
- Audi A3 Limousine 2014 ➤
- Audi A3 Limousine China 2014 ➤
- Audi A3 Sportback 2013 ➤
- Audi A3 Sportback China 2014 ➤
List of Workshop Manual Repair Groups:
- Technical data
- Interior equipment
- Passenger protection
- Trim, insulation
- Seat frames
- Seat – padding, covers
- Technical
Contents:
- 00 – Technical data
- 1 Safety precautions
- Safety precautions when working on vehicles with high-voltage system
- Safety precautions when working in the vicinity of high-voltage components
- Safety precautions when working on vehicles with start/stop system
- Safety precautions when using testers and measuring instruments during a road test
- Safety precautions when working on pyrotechnic components
- Storing, transporting and disposing of airbag units, belt tensioner units and battery isolation units (pyrotechnic components)
- Additional safety regulations for side airbags
- Additional safety regulations for curtain airbags
- Safety regulations for crash sensors (pressure sensors) for side airbag (front)
- Additional safety regulations for working on seat occupied sensor controlling deactivation of front passenger airbag – country-specific version
- Procedure for dealing with seat occupied sensor controlling deactivation of front passenger airbag following an accident – country-specific version
- Renewing pyrotechnic, electrical and mechanical components of the restraint system following an accident
- Checking airbag mounting components following an accident
- Accident in which no airbag was triggered
- Checking seat belts
- Checking belt
- Checking automatic belt retractor (locking action)
- Visual inspection of belt buckle
- Functional check of belt buckle
- Checking guide fittings and latch plate
- Checking securing components and anchorage points following an accident
- Checking child seat restraint function of seat belt for additional child seats (not for driver’s seat belt; country-specific version)
- Checking child seat anchors following an accident
- Safety precautions for automatic anti-dazzle interior mirror
- Repair notes
- Contact corrosion
- Routing and attaching lines and wiring
- 68 – Interior equipment
- 1 Storage compartments/covers/trim panels
- Overview of fitting locations – storage compartments/covers/trim panels
- Exploded view – dash panel cover (driver side)
- Exploded view – steering column trim
- Exploded view – glove box
- Removing and installing dash panel cover (driver side)
- Removing and installing steering column trim (top)
- Removing and installing steering column trim (bottom)
- Removing and installing glove box opening mechanism
- Removing and installing lock cylinder for glove box opening mechanism
- Removing and installing glove box
- Removing and installing glove box lid
- Removing and installing cushioning element for glove box lid
- Equipment
- Exploded view – sun visors
- Removing and installing sun visor
- Removing and installing centre bracket for sun visor
- Removing and installing grab handle
- Centre console
- Exploded view – centre console
- Removing and installing centre console trim (rear)
- Removing and installing coin holder
- Removing and installing centre console insert
- Removing and installing trim panel for centre console
- Removing and installing centre console
- Removing and installing brackets for centre console
- Removing and installing storage compartment in centre console (front)
- Centre armrest (front)
- Exploded view – centre armrest (front)
- Removing and installing centre armrest (top section)
- Removing and installing centre armrest (front)
- Interior mirror
- Exploded view – interior mirror
- Removing and installing interior mirror
- Switching automatic anti-dazzle function on and off
- Switching compass display on and off
- Setting magnetic deflection zone
- Calibrating digital compass
- Adjusting automatic anti-dazzle interior mirror for right-hand drive or left-hand drive vehicles
- Selecting the applicable deflection zone from the map
- Checking operation of automatic anti-dazzle interior mirror
- 69 – Passenger protection
- 1 Seat belts
- Overview of fitting locations – seat belts and anchorage points
- Exploded view – three-point seat belt (front)
- Exploded view – outer three-point seat belt (rear)
- Exploded view – centre three-point seat belt (rear)
- Exploded view – belt buckle (front)
- Exploded view – belt buckle (rear)
- Removing and installing three-point seat belt (front)
- Removing and installing three-point seat belt (rear)
- Removing and installing belt guide (front)
- Removing and installing belt guide (rear)
- Removing and installing belt end fitting (front)
- Removing and installing belt height adjuster
- Removing and installing belt buckle (front)
- Removing and installing belt buckle (rear)
- Child seat anchors
- Exploded view – child seat anchors (front)
- Exploded view – child seat anchors (rear)
- Removing and installing child seat anchor (front)
- Removing and installing child seat anchor (rear)
- Airbag system
- Overview of fitting locations – airbag system
- Airbag control unit
- Exploded view – airbag control unit
- Removing and installing airbag control unit J234
- Battery isolation igniter
- Exploded view – battery isolation igniter
- Removing and installing battery isolation igniter
- Airbag (driver side)
- Exploded view – airbag (driver side)
- Removing and installing airbag unit with igniters
- Renewing connector at airbag
- Airbag (front passenger side)
- Exploded view – airbag (front passenger side)
- Removing and installing airbag unit (front passenger side) with igniters
- Removing and installing key operated switch to deactivate airbag on front passenger side
- Side airbags
- Exploded view – side airbag (front)
- Exploded view – side airbag (rear)
- Removing and installing side airbag (front) with airbag igniter
- Removing and installing side airbag (rear) with airbag igniter
- Curtain airbags
- Exploded view – curtain airbag
- Removing and installing curtain airbag with airbag igniter
- Knee airbags
- Exploded view – knee airbag
- Removing and installing knee airbag with airbag igniter
- Crash sensors for airbags
- Overview of fitting locations – crash sensors for airbags
- Removing and installing front airbag crash sensor G283 / G284
- Removing and installing front side airbag crash sensor G179 / G180
- Removing and installing rear side airbag crash sensor G256 / G257
- Seat position sensor
- Exploded view – seat position sensor
- Removing and installing seat position sensor
- Belt-fastened recognition system
- Removing and installing seat occupied sensor, front passenger side G128
- Seat occupied recognition system
- Overview of fitting locations – seat occupied recognition system
- Removing and installing seat occupied sensor
- Pedestrian protection
- Overview – pedestrian protection
- Removing and installing crash sensor for pedestrian protection G570 / G571
- Removing and installing centre crash sensor for pedestrian protection G693
- Removing and installing crash sensor 2 for pedestrian protection G851 and G852
- Removing and installing trigger for pedestrian protection G598 / G599
- Resetting pedestrian protection system after it has been triggered
- 70 – Trim, insulation
- 1 Door trim (front)
- Exploded view – door trim (front)
- Removing and installing door trim (front)
- Removing and installing trim panel
- Removing and installing armrest (front)
- Removing and installing interior door handle
- Removing and installing window frame trim
- Door trim (rear)
- Exploded view – door trim (rear)
- Removing and installing door trim (rear)
- Removing and installing trim panel
- Removing and installing armrest (rear)
- Removing and installing interior door handle
- Removing and installing window frame trim
- Dash panel
- Overview of fitting locations – dash panel
- Exploded view – dash panel
- Removing and installing dash panel cover (side)
- Removing and installing dash panel vents
- Removing and installing defroster vent (front centre)
- Removing and installing defroster vent (side)
- Removing and installing loudspeaker trim
- Removing and installing trim panel for dash panel
- Removing and installing cover for MMI screen
- Removing and installing dash panel
- Dash panel cross member
- Exploded view – dash panel cross member
- Removing and installing crash bar
- Removing and installing dash panel cross member
- Passenger compartment trim panels
- Overview of fitting locations – passenger compartment trim panels
- Exploded view – sill panel trim
- Exploded view – A-pillar trim
- Exploded view – B-pillar trim
- Exploded view – C-pillar trim
- Exploded view – D-pillar trim
- Exploded view – side trim
- Exploded view – foot rest and floor covering
- Exploded view – rear shelf
- Removing and installing sill panel trim
- Removing and installing A-pillar trim
- Removing and installing B-pillar trim
- Removing and installing C-pillar trim
- Removing and installing D-pillar trim
- Removing and installing loudspeaker trim
- Removing and installing side trim
- Removing and installing foot rest
- Removing and installing floor covering
- Removing and installing rear shelf
- Luggage compartment trim panels
- Overview of fitting locations – luggage compartment trim panels
- Exploded view – rear lid trim (top)
- Exploded view – rear lid trim (bottom)
- Exploded view – lock carrier trim
- Exploded view – luggage compartment side trim
- Exploded view – luggage compartment floor
- Removing and installing tail light cover
- Removing and installing rear lid trim (bottom)
- Removing and installing rear lid trim (top)
- Removing and installing lock carrier trim
- Removing and installing bag hook
- Removing and installing fastening ring
- Removing and installing luggage compartment side trim
- Removing and installing grip for luggage compartment floor (rear)
- Removing and installing lining for spare wheel well
- Roof trim panels
- Exploded view – moulded headliner
- Removing and installing moulded headliner
- Lowering moulded headliner for removal of roof aerial
- Attaching roof reinforcement to body
- 72 – Seat frames
- 1 Overview – seat versions
- Overview of fitting locations – seat versions
- Front seats
- Overview of fitting locations – electrical and electronic components
- Exploded view – front seat
- Exploded view – front seat backrest
- Exploded view – backrest release mechanism and Easy Entry system
- Exploded view – head restraint
- Exploded view – seat pan
- Removing and installing front seat
- Connecting and disconnecting airbag adapter
- Attaching front seat to seat repair stand
- Removing and installing backrest adjustment unit
- Removing and installing front seat backrest
- Removing and installing lumbar support adjustment motor V125 / V126 / V129 / V130
- Removing and installing trim for backrest release mechanism
- Removing and installing backrest release mechanism
- Removing and installing slider
- Removing and installing head restraint
- Removing and installing head restraint guide
- Removing and installing lumbar support adjustment switch E176 / E177
- Removing and installing massage function button E670 / E671
- Removing and installing seat height adjustment unit
- Removing and installing seat rake adjustment unit
- Dismantling and assembling seat pan
- Removing and installing control unit for seat functions
- Rear seats
- Exploded view – seat bench/individual seats
- Exploded view – rear seat backrest
- Exploded view – locking mechanism
- Exploded view – centre armrest
- Exploded view – head restraint and head restraint guide
- Removing and installing seat bench/individual seats
- Removing and installing centre storage compartment
- Removing and installing rear seat backrest
- Removing and installing trim for locking mechanism
- Removing and installing locking mechanism for rear seat backrest
- Removing and installing trim frame for load-through hatch
- Removing and installing flap for load-through hatch
- Removing and installing centre armrest
- Removing and installing head restraint
- Removing and installing head restraint guide
- 74 – Seat – padding, covers
- 1 Covers and padding on front seats
- Exploded view – seat pan cover and padding
- Exploded view – backrest cover and padding
- Exploded view – head restraint cover and padding
- Overview – seat heating elements
- Removing and installing seat pan cover and padding
- Separating seat pan cover and padding
- Removing and installing backrest cover and padding
- Separating backrest cover and padding
- Removing and installing head restraint cover and padding
- Removing and installing seat heating element Z6 / Z8
- Removing and installing backrest heating element Z7 / Z9
- Covers and padding on rear seats
- Exploded view – covers and padding
- Removing and installing cover and padding
- Removing and installing intermediate padding – backrest with load-through hatch
- Detaching cover from padding





 Abrites AVDI J2534
 Actia Multi-Diag
 Autoland iSCAN
 BMW ENET
 Bosch Mastertech II J2534
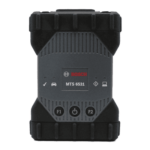 Bosch MTS 6531
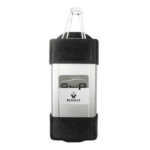 CAN CLIP RLT2002
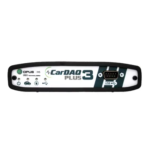 CarDAQ-Plus 3
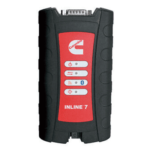 Cummins INLINE Datalink
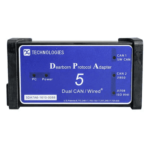 Dearborn Protocol Adapter (DPA) 5
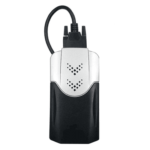 Delphi/Autocom DS150E
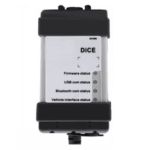 Volvo VIDA DiCE
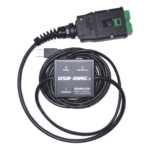 Derelek USB DIAG 3
 Electronic Data Link (EDL) 2
 Electronic Data Link (EDL) 3
 GM MDI 1
 GM MDI 2
 HEX-V2 VCDS VAG-COM
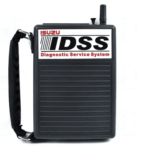 Isuzu IDSS IDS MX1
 Isuzu IDSS IDS MX2
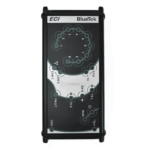 Iveco Eltrac E.A.SY. ECI
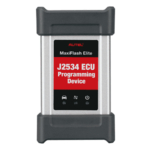 MaxiFlash Elite J2534
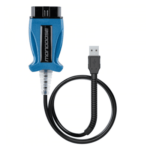 Mongoose J2534
 Nexiq USB-Link 1
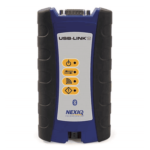 Nexiq USB-Link 2
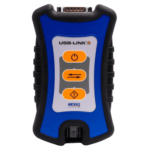 Nexiq USB-Link 3
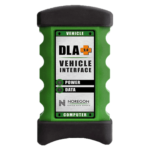 Noregon DLA+ 2.0
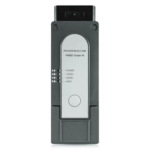 Porsche PIWIS TESTER 3 (PT3G)
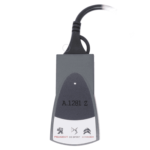 PSA LEXIA 3
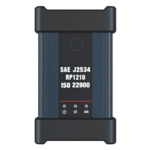 SAE J2434
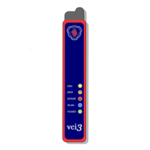 Scania VCI 3
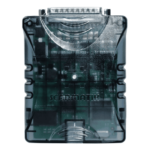 Scanmatik 2 PRO
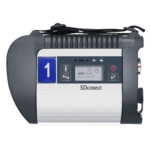 SD Connect Multiplexer
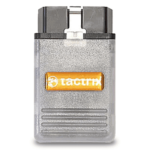 Tactrix OpenPort 2.0
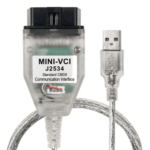 Toyota TIS Mini VCI
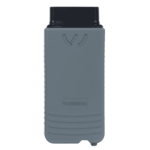 VAG ODIS VAS5054 Clone
 VAG ODIS VAS6154 Clone
 Volvo VOCOM 1
 Volvo VOCOM 2





Reviews
Clear filtersThere are no reviews yet.